The original cards from the core set for Legion. Which ones should you eliminate? What do they do? What choice is best for me? I’m going to talk about all of that.
Deployment Cards
Deployment cards are going to tell you where your deployment zone is. The blue zone for the blue player, and the red zone for the red player. The numbers on the edges of the card, indicates how many range tools each section is, in terms of length and width. A (3) indicates it is range 3, or 18 inches (since each range unit is exactly 6 inches). Many of these deployment cards are going to force you to take a look at the terrain on your board, and determine which one will work best for your army.
Each card is going to by symmetric between the blue player and red player. For this phase, there really isn’t any difference between the two colors, so if you end up being the red player, don’t worry.
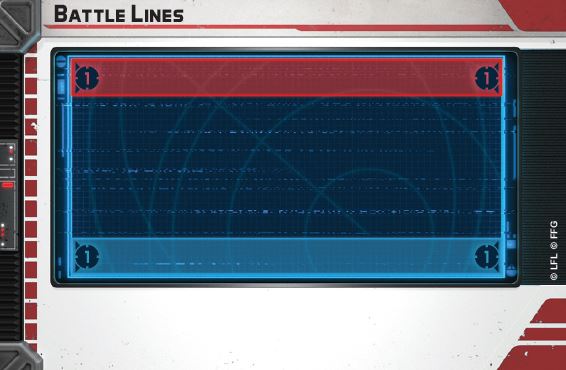
Battle Lines is easily the most basic of all deployment cards. It allows you to deploy anywhere on your side, within range 1 of your edge. This is fairly universal and gives most armies a lot of flexibility. It’s worth noting that starting with this deployment can have the highest potential of having shots fired on the first round, so be careful how far forward you start marching those first few troops.
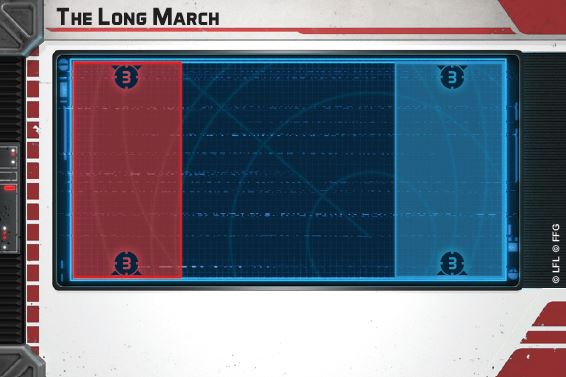
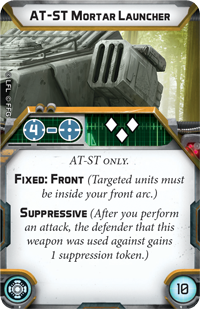
The Long March, is also fairly basic, but will have you playing at the short ends of the table, marching towards your opponents from potentially a longer distance. This one can be favorable to fast units, especially those with compulsory moves. This one can also benefit extreme long range attacks, like the mortars from the AT-ST, which have a minimum range of 4.
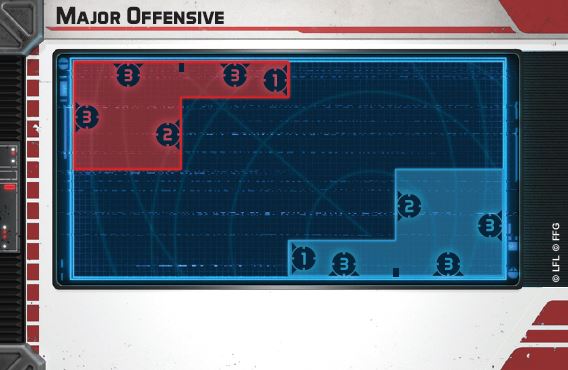
Major Offensive is giving each of you opposite corners, but it also extends moderately far into the center. This one is interesting in how it extends into different depths of the board, and can really depend on how your terrain is laid out, on weather or not this one works best for you. Generally, I tend to prefer this deployment only if I have blocking terrain near the center, but slightly closer to my side, allowing me flexibility of deployment, as well as covered approach paths, to objectives.
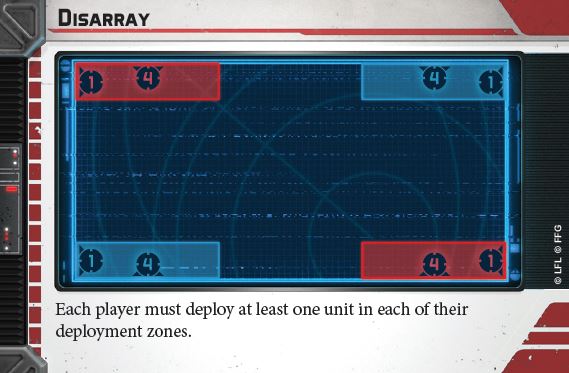
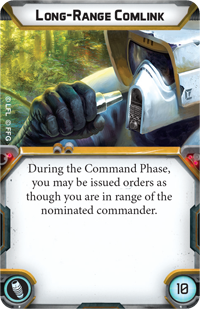
Disarray is the most difficult to set up for new players, and easily the most chaotic. Newer players are likely only have a single commander, and since it requires you to deploy units in BOTH corners, you are going to be forced to split up your forces in different areas, leaving some units beyond standard command range. This can work well however, with builds using cards to mitigate this distance, such as Long Range Comlink. Another way to utilize this deployment is to simply ignore the disadvantage, by focusing on corps units, and simply putting all of them on one side, and your commander plus whatever remains on the other corner. You’ll be able to issue orders to Heavy, or Support units for example from your commander, and then pull from the pile to get your corps units with ease. If you have 6 corps, and heavy, for example, this might work for you.
Condition Cards
Condition cards are telling you something about the condition of the battlefield you are fighting. Maybe it’s a bright sunny day, maybe it’s foggy, or snowy. Whatever the condition, it’s going to have an impact on your tactics. You’ll want to avoid certain conditions that might cripple your army’s strengths.

Clear conditions is simple. It has no effect. This is equally good for everyone, and that means sometimes you’ll purposely want to eliminate this one if the one behind it might hurt your opponent worse than you.
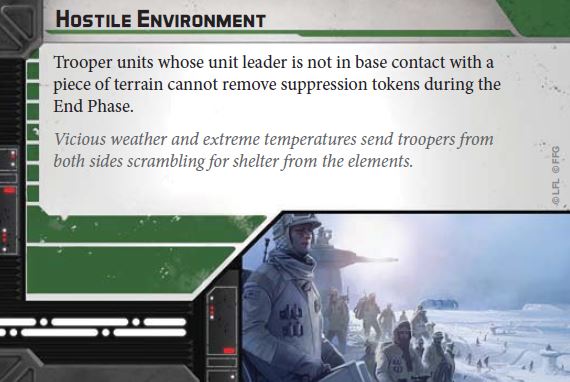
Hostile Environment makes it more difficult for troopers to remove suppression. It also means that trooper units are less likely to end up in the open, while trying to move from one objective to another. If you are particularly trooper heavy, and your battlefield has lots of wide open spaces, you may want to avoid this one. If you are using a lot of vehicles, your penalties here could be minimized.

Rapid Reinforcements is unique in that it doesn’t reference the battlefield itself, but rather the availability of the troopers within it. This one could potentially hurt a build that is maxing out on heavily upgraded troopers, as it will be far more difficult for a player to set aside 2/3rds of his stronger configured trooper units for a few turns of the game. If you feel like you have plenty of troopers, and can afford to play without them for the first few turns, then perhaps you may enjoy this one. As a side note – any future trooper units can also be effected by this card, so as more troopers enter the game, the tactics for this card may evolve.
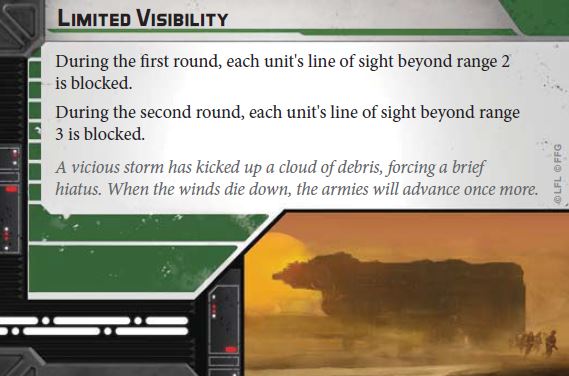
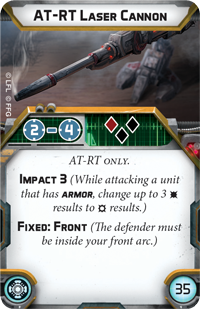
Limited Visibility is the best condition to have, if your opponent is equipped with long range attacks that they’d like to use on the first turn. If they are using Leia or Veers, then they’ll have command cards capable of striking you at distance 4 or beyond from the first turn. If they have long range weapons, like the AT-RT Laser Canon, or AT-ST Mortar Launcher, then they’ll also be at a disadvantage, unable to fire at you until after the fog has died down.
Objectives
Objectives are how you win the game. Well, technically you can also completely destroy all of your opponent’s units – but more often than not it’s going to come down to objectives. The right objective can make or break the game for you, so make sure you pay close attention to these.
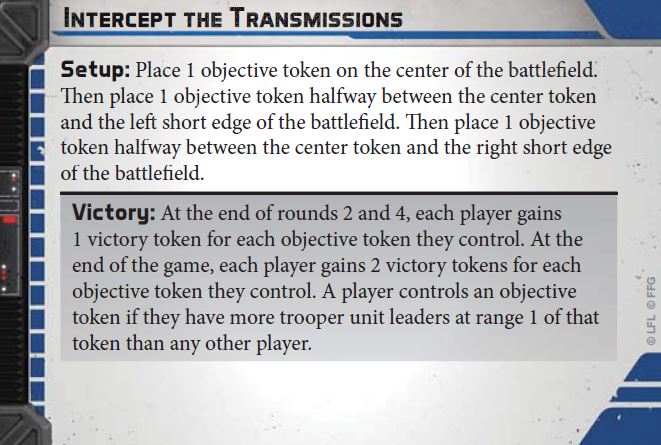
Intercept the Transmissions turns the game into area control. It’ll will most likely be a fight for the center, as typically one player will end up having an advantage on the left, and the other player will gravitate more to the right. If you have a build that can lock down 2 areas of the battlefield that you’ve built, then this might benefit you. Troopers are crucial for this objective however, in that only trooper unit leaders can give you control of one of the three objectives. A vehicle-heavy list is likely to struggle with this objective in that while vehicles may have some firepower, they have no ability to gain victory points.
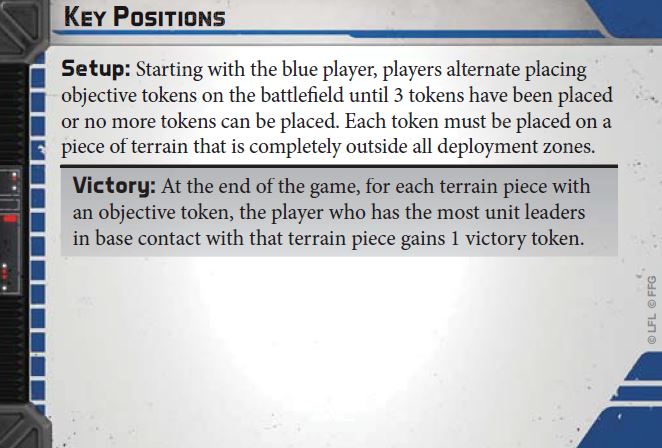
Key positions heavily favors the blue player. There are only 3 tokens to be placed and the blue player gets to pick two of them, which means they can select the two terrain pieces that are easiest to defend. Any type of unit leader can compete for control of the terrain pieces however, so vehicles are fine for this one. I like to think that AT-RTs with long range weapons like the AT-RT Laser Canon can be great here, since they can climb on top of an obstacle and hold it, while firing at a distance to cover another one. If you are the red player I’d seriously consider eliminating this objective.
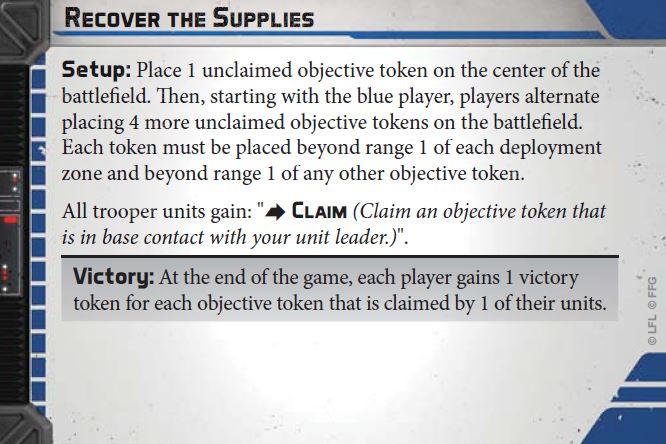
Recover the Supplies is another objective that heavily favors trooper-heavy lists. You are going to have to claim an objective, and keep it safe until the end of the game. If your build can put out a lot of suppression then you may be able to force enemies to panic, and drop their supplies, so that is worth considering. Also if terrain allows for strong hiding spots that block line of sight, you may want to consider claiming supplies and staying safe. Vehicle heavy lists may struggle with this one if they cannot get at least 3 tokens claimed and kept safe.
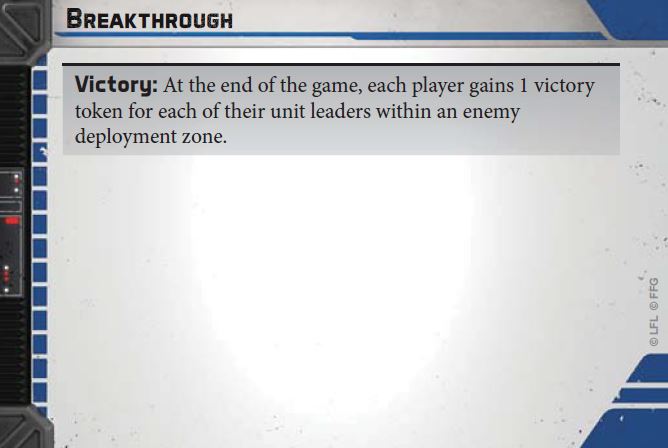
Breakthrough is a pretty fun objective and perhaps has the most interesting dynamic of all objectives that come with the Core Set. It makes your game almost feel like a sporting event that I might compare to a Star Wars version of Football. It favors the most units, and also favors fast units. Slow units will have difficulty making it to the enemy’s deployment zone, so if you have slower forces like Darth Vader, this one might not be the best for you. Personally, I’ve had success with this mission when using units that have high speed and compulsory moves. Even though rebel snowspeeders cost alot of points, they have the speed and survivability to spend a few turns shooting, and can make a break for the enemy zone right before the end of the game to make the difference. Generally however, if your opponent has several more units than you do, I’d steer clear of this objective.
In Summary
If you prefer a video instead of reading all of this, here is a video as well!
Hopefully you found this information helpful! Out of all the three card types, objectives are easily the most important, but they are also influenced heavily by the other two. The one constant that I’ve found, is that most winning builds tend to favor quantity, over quality – so the more units you have, and thus, the more unit leaders you have, the better your chances of gaining victory tokens and winning the game!

