With any major new FAQ and Errata there’s always bound to be a major shake up in the meta. Today I want to discuss the winners and loser of this change, and how the meta may change moving forward.
Losers:
Some changes were good overall, like the change to Strategic Adviser and Biggs. But ultimately, some things really got hurt. Lets talk about the biggest losers.
Relay

Relay got hit hard, but in a way that makes perfect sense. Now it simply extends range rather than making squadron range infinite. Most would agree that this makes great logical sense, but this does hurt those fleets that were designed to exploit the old way of keeping ships far away from the fight, and removing all risk of their carriers taking fire. The Lambda is probably hurt more than the VCX, considering it has twice the Relay value, but the entire strategy of using Relay now has to change to include some risk, keeping your fleet together, and keeping your carriers in the fight.
Gallant Haven
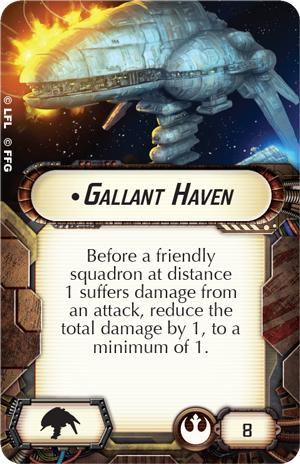
This one wasn’t as widely abused, but when it was used it had the potential to be significantly overpowered. The power came from unique squadrons with the brace token. Even if a friendly squadron was hit for two damage, they could just brace and reduce it to one, then having Gallant Haven reduce that one to zero. And if you had Jan Ors nearby, you didn’t even need to have your own brace token, since you could “borrow” hers. This title now will still help for larger attacks, such as three or more, but it will no longer stop the small damage from going through.
Yavaris
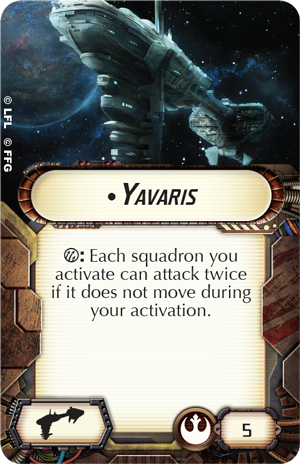
While Yavaris wasn’t changed too much, a very common crew combination certainly was. Using Flight Commander and Fighter Coordination Team together, would allow you to delay your squadron command until after moving, and also after you gave your squadrons a free speed-one move. It allowed you to partly ignore the restriction that came with this amazing ship. But that isn’t the only nerf to Yavaris. The relay nerf also hurts Yavaris more so than any other carrier, in that most Rebel Fleets that use Yavaris, often find that it’s the first target for the enemy fleet. No more, can Yavaris dish out squadron double-taps from the rear ranks and relative safety.
Avenger
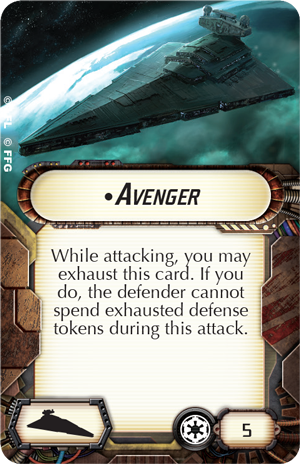
While not the worst nerf, the Avenger’s new requirement to exhaust will actually affect it in multiple new shooting scenarios. The first case is the common use of boarding teams, where you have a double arc on the defender. An enemy flagship, at full strength, would seldom be able to survive. Another case is when using Gunnery Team, where you’d be shooting on multiple targets that may have spent some tokens already. But a third scenario is when using the Advanced Gunnery objective and you were actually able to attack from your front arc even against the same ship twice. At least in the case of this nerf you can still use it’s ability once, which still allows it to be used, and it will still probably be the most widely used Star Destroyer title. Probably.
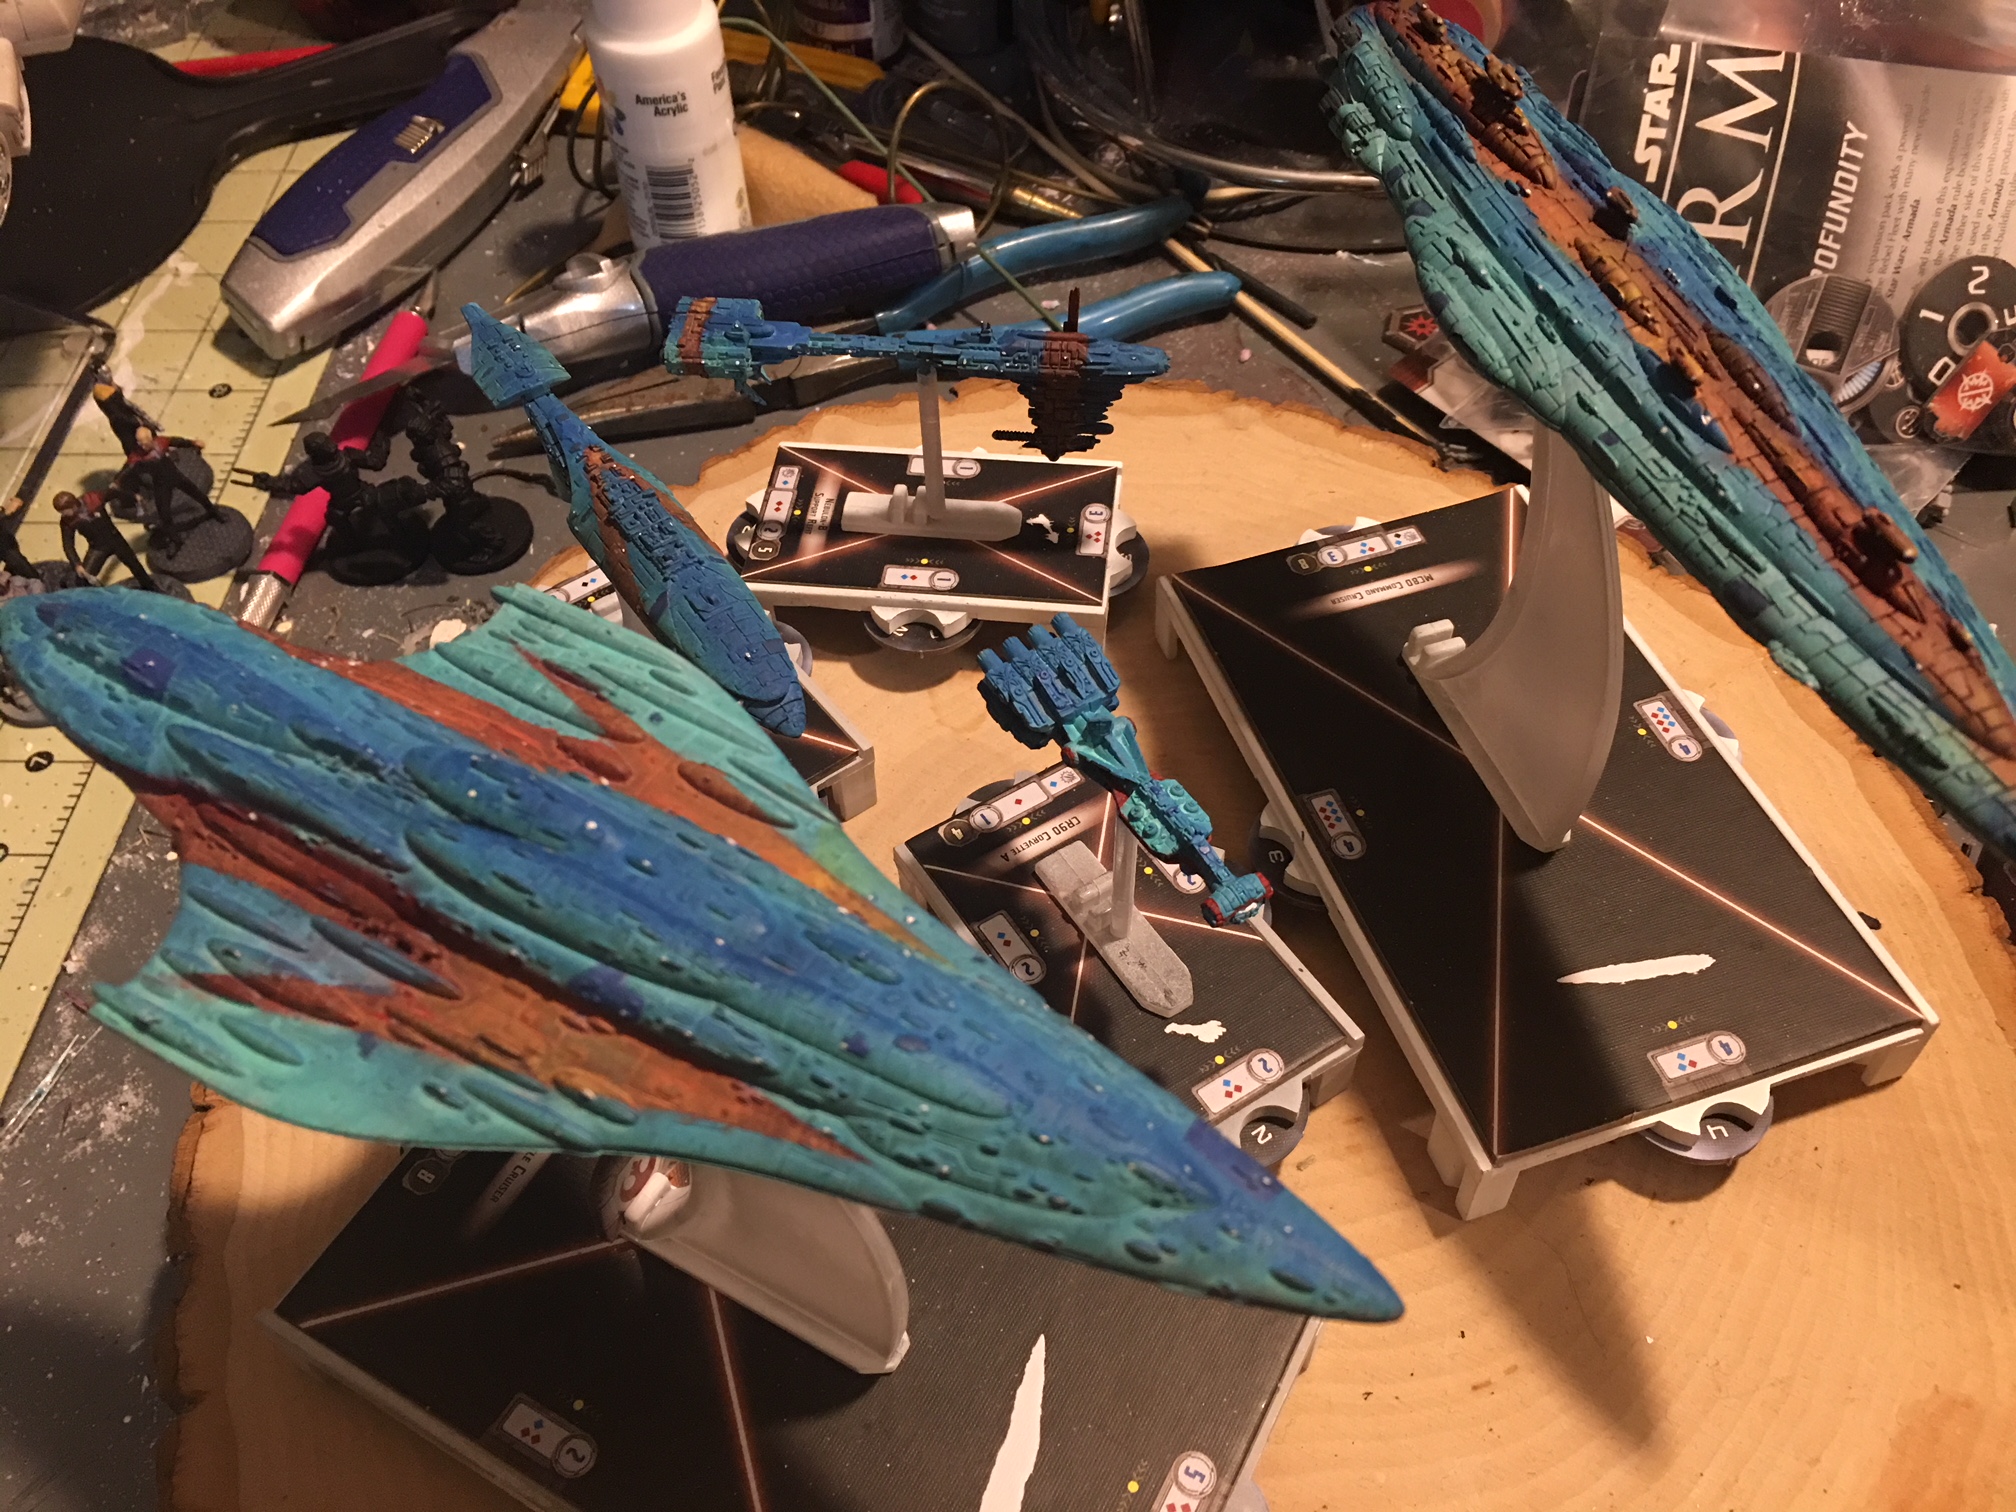
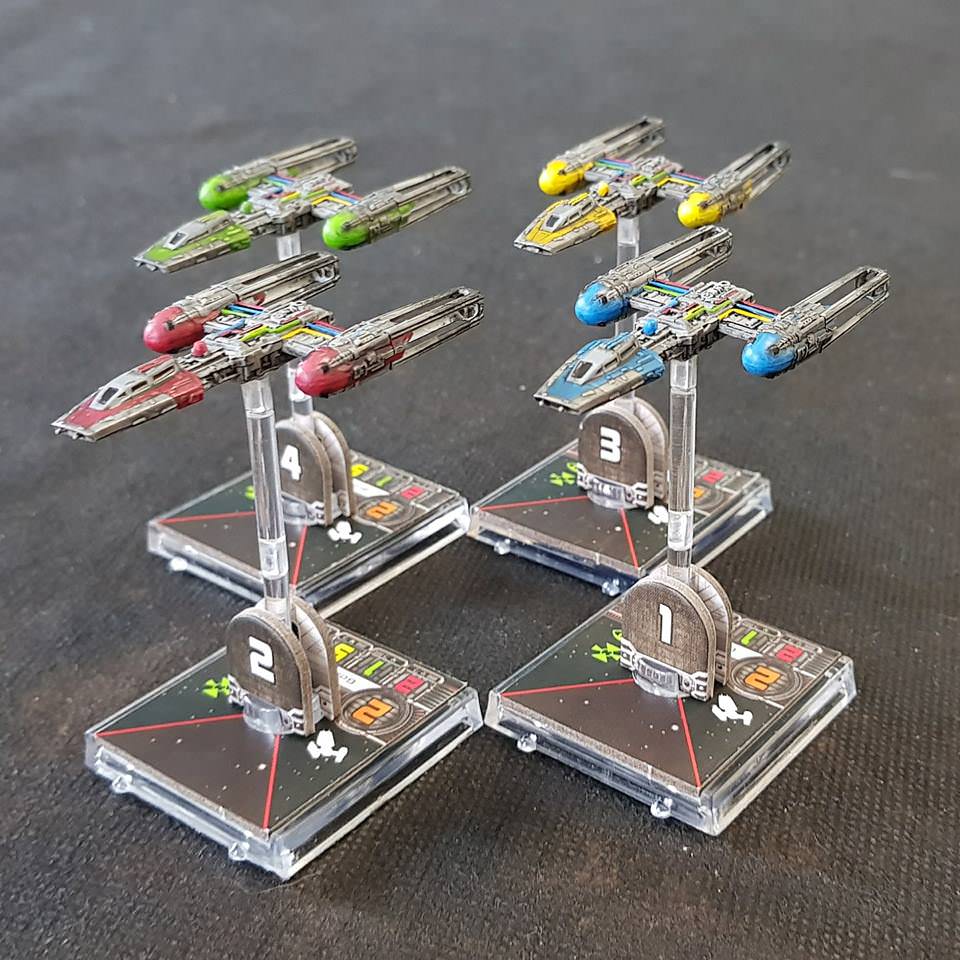
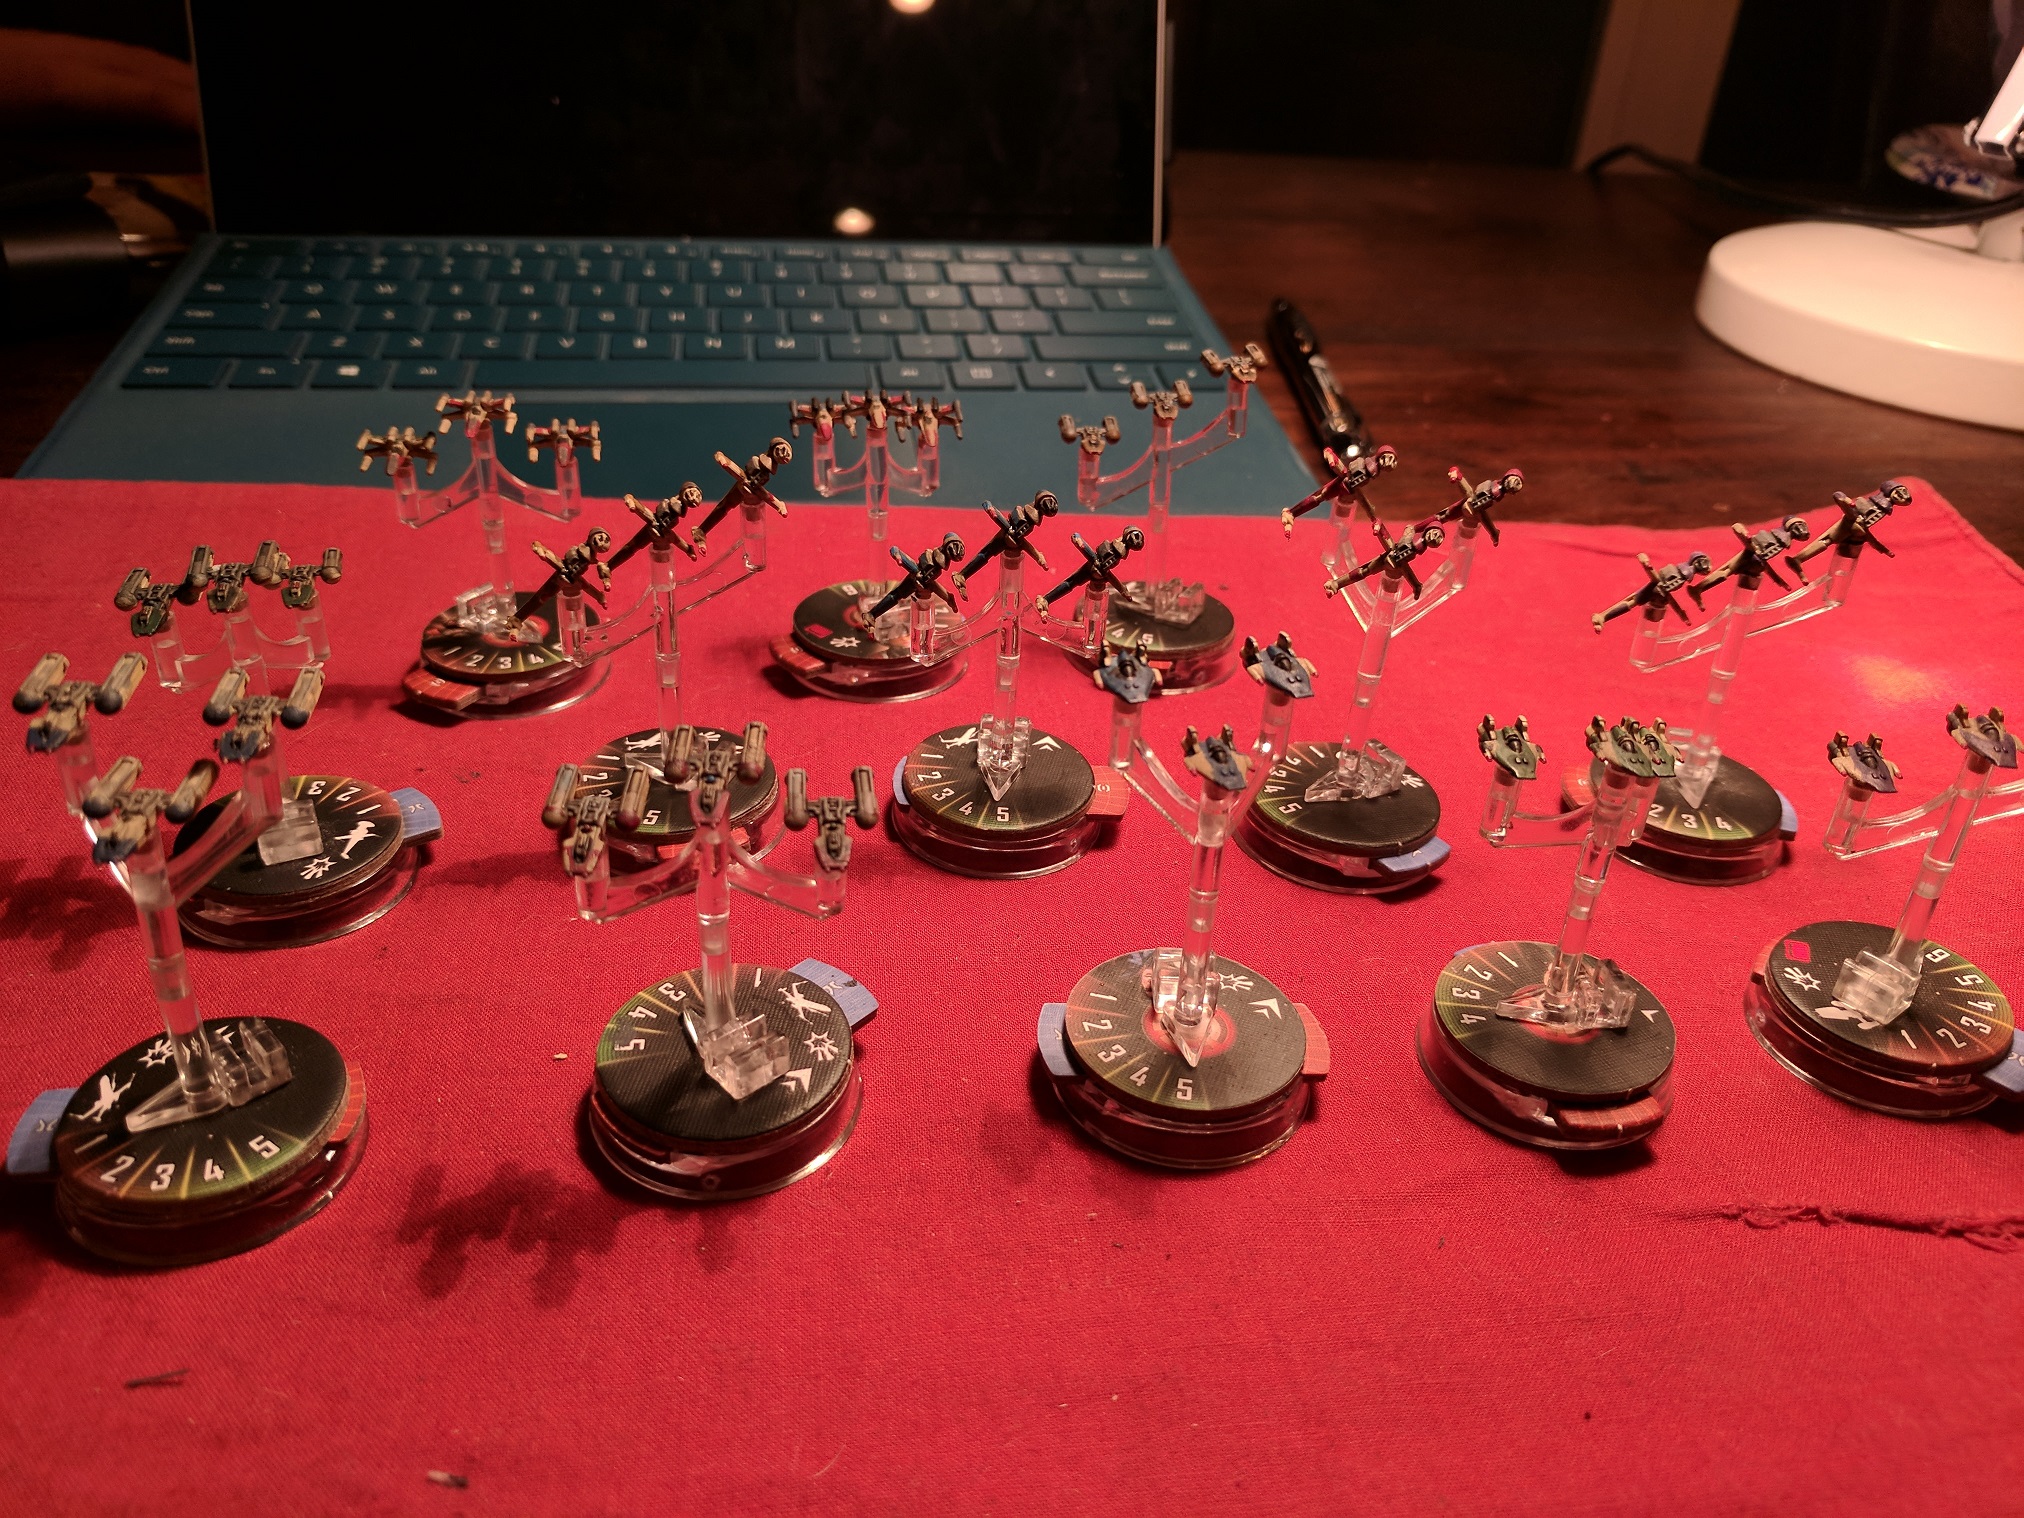
The Third Flotilla in Your collection
![]()
This was the one that bothered me the most. Restricting flotillas to a hard cap of only 2 per fleet has a ton of implications. First off, everyone who bought 3 or more are now unable to use them unless it’s a strictly casual game. Second, those flotillas are now much less useful, in that they can no longer hang out around the edge of the board, supporting your squadrons, even while your ships are dead. But another implication is that future flotillas are now at a disadvantage. If FFG makes another flotilla in the future, you’ll have a hard time deciding on which 2 you want to use, considering the utility that GR-75s and Gozantis offer your fleet, it may force players into an uncomfortable decision.
Winners
When some things get worse, sometimes other things get better by proxy. Let’s take a look at the biggest winners that result from these changes.
Hera
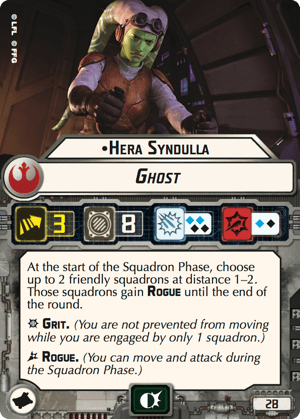
With all of the VCXs and Lambdas getting nerfed, Hera remains the one that was untouched, keeping her original balance and power level. Her ability still is able to ignore distance from ships, and she now has more of a unique ability when you consider that her counterparts with the nerfed relay are restricted to staying close to the fleet. All rouges, actually, are winners here, but Hera is by far the biggest winner from the group, being able to still provide that autonomous activation to squadrons who lack rogue.
Boosted Comms

Boosted Comms started to see less and less play once relay came out. It almost became irrelevant. Now it is back and better than ever. Considering it stacks, in a meaningful way, with relay now, you can layer these two extensions together and still get some distance between you and your squadrons if you really want to. I expect to see more of this card in the future, especially on Quasars.
Centicore

Another upgrade that may see more play as a result of the relay nerf. Centicore never saw alot of play, and one main reason for that was that relay was just so much better. Now it can potentially help fill some gaps left by the nerf, giving squadron based fleet greater flexibility in activations. And since fleets will likely be flying closer together now, you are more likely able to take advantage of this one.
Other Boarding Parties

Since Avenger’s slight nerf, Boarding Troopers might get taken a bit less, and therefore we stand a chance of seeing other boarding party cards showing up. Cham Syndulla and Darth Vader might see a small rise in play in the coming months.
Ackbar
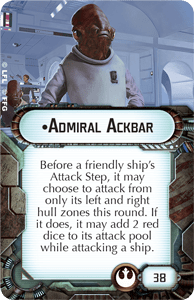
The nerf to flotillas is good new to slow-moving fleets, especially Ackbar fleets. That classic broadside fleet that was never able to chase down distant flotillas will now have an easier time securing victory. Additionally, Ackbar fleets have some extra flexibility in that Home One isn’t quite as crucial, in that you no longer HAVE to destroy enemy flotillas, so that one accuracy, while still great to have, isn’t quite as crucial as it once was. Perhaps now we’ll see more Ackbar fleets with only Assault Frigates? Same goes for any red-dice heavy list honestly. Imperial Cymoons and Arquitens based lists will have similar flexibility, in that they won’t absolutely need that accuracy for flotillas as much.
Ultimately, only time will tell how these changes will fully impact the game moving forward. All in all, I feel they are largely Quality of Life changes, meant to reduce negative play experiences and some “cheese” factor. You can head over to the Armada Errata Page for a summary of changes, and links to all relevant documents.


 22
22