In a shocking twist of fate, FFG managed to surprise alot of people with a surprise release of a Destiny 2-player Starter in both retail stores like Target, as well as local game stores for Force Friday. It has some new takes on existing characters, but you’ll need 2 if you want a playset, since it only has one of each card and die.
Legion!!!!!
Well, I’ve wanted a ground game for years and it looks like I’m finally getting it!
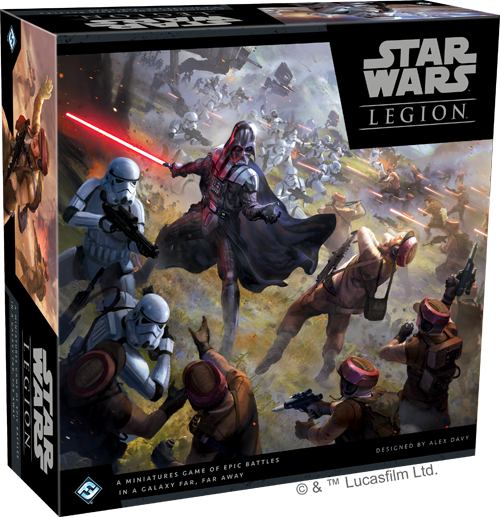
Set to release in early 2018, Star Wars legion is basically Warhammer 40K but for Star Wars. Like similar Star Wars games, this is a tabletop miniatures game with army building, and is set for 1 vs 1 play. This game has some similarities with Runewars, but has a ton of differences also, most notably that it doesn’t use the tray system. Every stormtrooper here moves around freely.
The miniatures aren’t exactly in the scale I was hoping for however. What I really wanted, was for it to be in the same scale as X-Wing, to hopefully allow crossover play at some point. I was hoping for ultra massive scale battles, with 5-7 AT-ATs marching on the rebels, while the rebels had waves of defenses setup, and we got to see battles that made Hoth look tame by comparison.
What we got was miniatures that are…. larger than Imperial Assault.
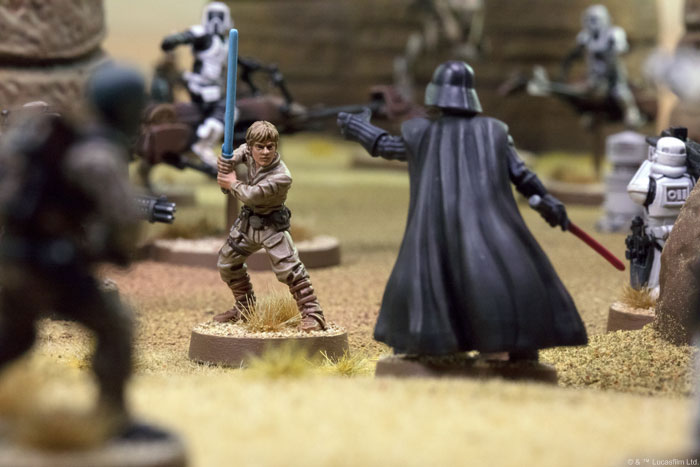
Now at first I was disappointed because at this scale, there’s just no way I am going to be able to fit 5-7 AT-ATs on the table top… well not on MY table anyway. But I think I’m going to be ok with that. This slightly larger scale is actually turning out to be a good thing because these miniatures look FANTASTIC! Painting them is going to be a joy. (Did I mention they come unpainted and un-assembled?) Painting Star Wars miniatures is always a pleasure – though I do have some concerns on weather or not I’ll keep my stormtroopers in standard white or if I’ll jazz them up with some crazy purple flair!

This game is going to also use terrain! It allows for cover, and elevation! These are the really exciting parts! And it’s rekindled my inner crafty person. I’ve begun working on some Hoth terrain as well! The next 6 months are going to be an eager time of anticipation!
Spending Time in Kansas City
So I’ve been here in Kansas City for a little over a week now. Played a few games of Armada with some of the local gamers – probably gonna play some more this weekend if I’m still here! Some cool stores here! Here are some of the videos!
Very home sick though! Miss the family!
Giveaway Time!
So as I get closer to 8,000 subscribers I wanted to do another giveaway! This time it’s a Star Wars Celebration Exclusive Rey with Speeder Funko Pop!
Details in the video!
Ackbar Nebulons – Turning Taboo into Terror
A few weeks ago I was getting ready for an Armada tournament, and I posted on facebook that I was planning on trying a new build, and that it would be “outside of my comfort zone”. In jest, a friend said that I should be flying Ackbar Nebulons. This post received several ‘likes’, and a few follow up comments urging me to fly Ackbar Nebulons. Clearly, I was being mocked. Or was I? I decided at that moment that I would put some work into an Ackbar Nebulon list to spite them all either with shock or dismay.
Why is this so taboo in the first place?
Generally you want to enhance your biggest strengths, rather than simply offset your weaknesses. Some times players try to fill in a ‘gap’ in a ship to make it more well rounded, but most of the time in a short game of only 6 turns, championships are won by those who tend to focus more on a ship’s specialty. Pairing Ackbar with Nebulons is breaking that rule completely down the middle, by not simply enhancing a weakness (the side arcs) but also by crippling the biggest strength (the front arc).
Nebulons want to be pointed directly at the enemy. Their 3 shields, and 3 red dice are as tough as a Victory Class Star Destroyer when at long range – but they are so weak on their sides they are a great example of a glass cannon. One well-placed Raider can take down a Nebulon with a single activation.
So how can it work?
To make it work we have to look past the obvious strength of the front arc and look at how that actually limits it. Anyone who has spent time trying to fly a Salvation, knows how frustrating it can be to NOT have a front shot with that narrow front arc.
That strong front arc, is so narrow that we can flip the entire mentality of this ship by pretending like we WANT to shoot out of the sides. Why? The sides are huge – we will ALWAYS have a shot. And for the few times we don’t – well that’s fine the front will work in those cases.
Another strength here is that they are cheap. Typical lists with Ackbar will only have 3 main attacking ships. Here we can get 5 or more with ease. Cheap allows for that, and allows for upgrades. Lets talk about upgrades:
Upgrades:
The main upgrade you’ll want to consider is which Turbolaser you want to use. Typically, I would suggest running with Slaved Turrets. They are cheap and this is one of the best ships to use them on.
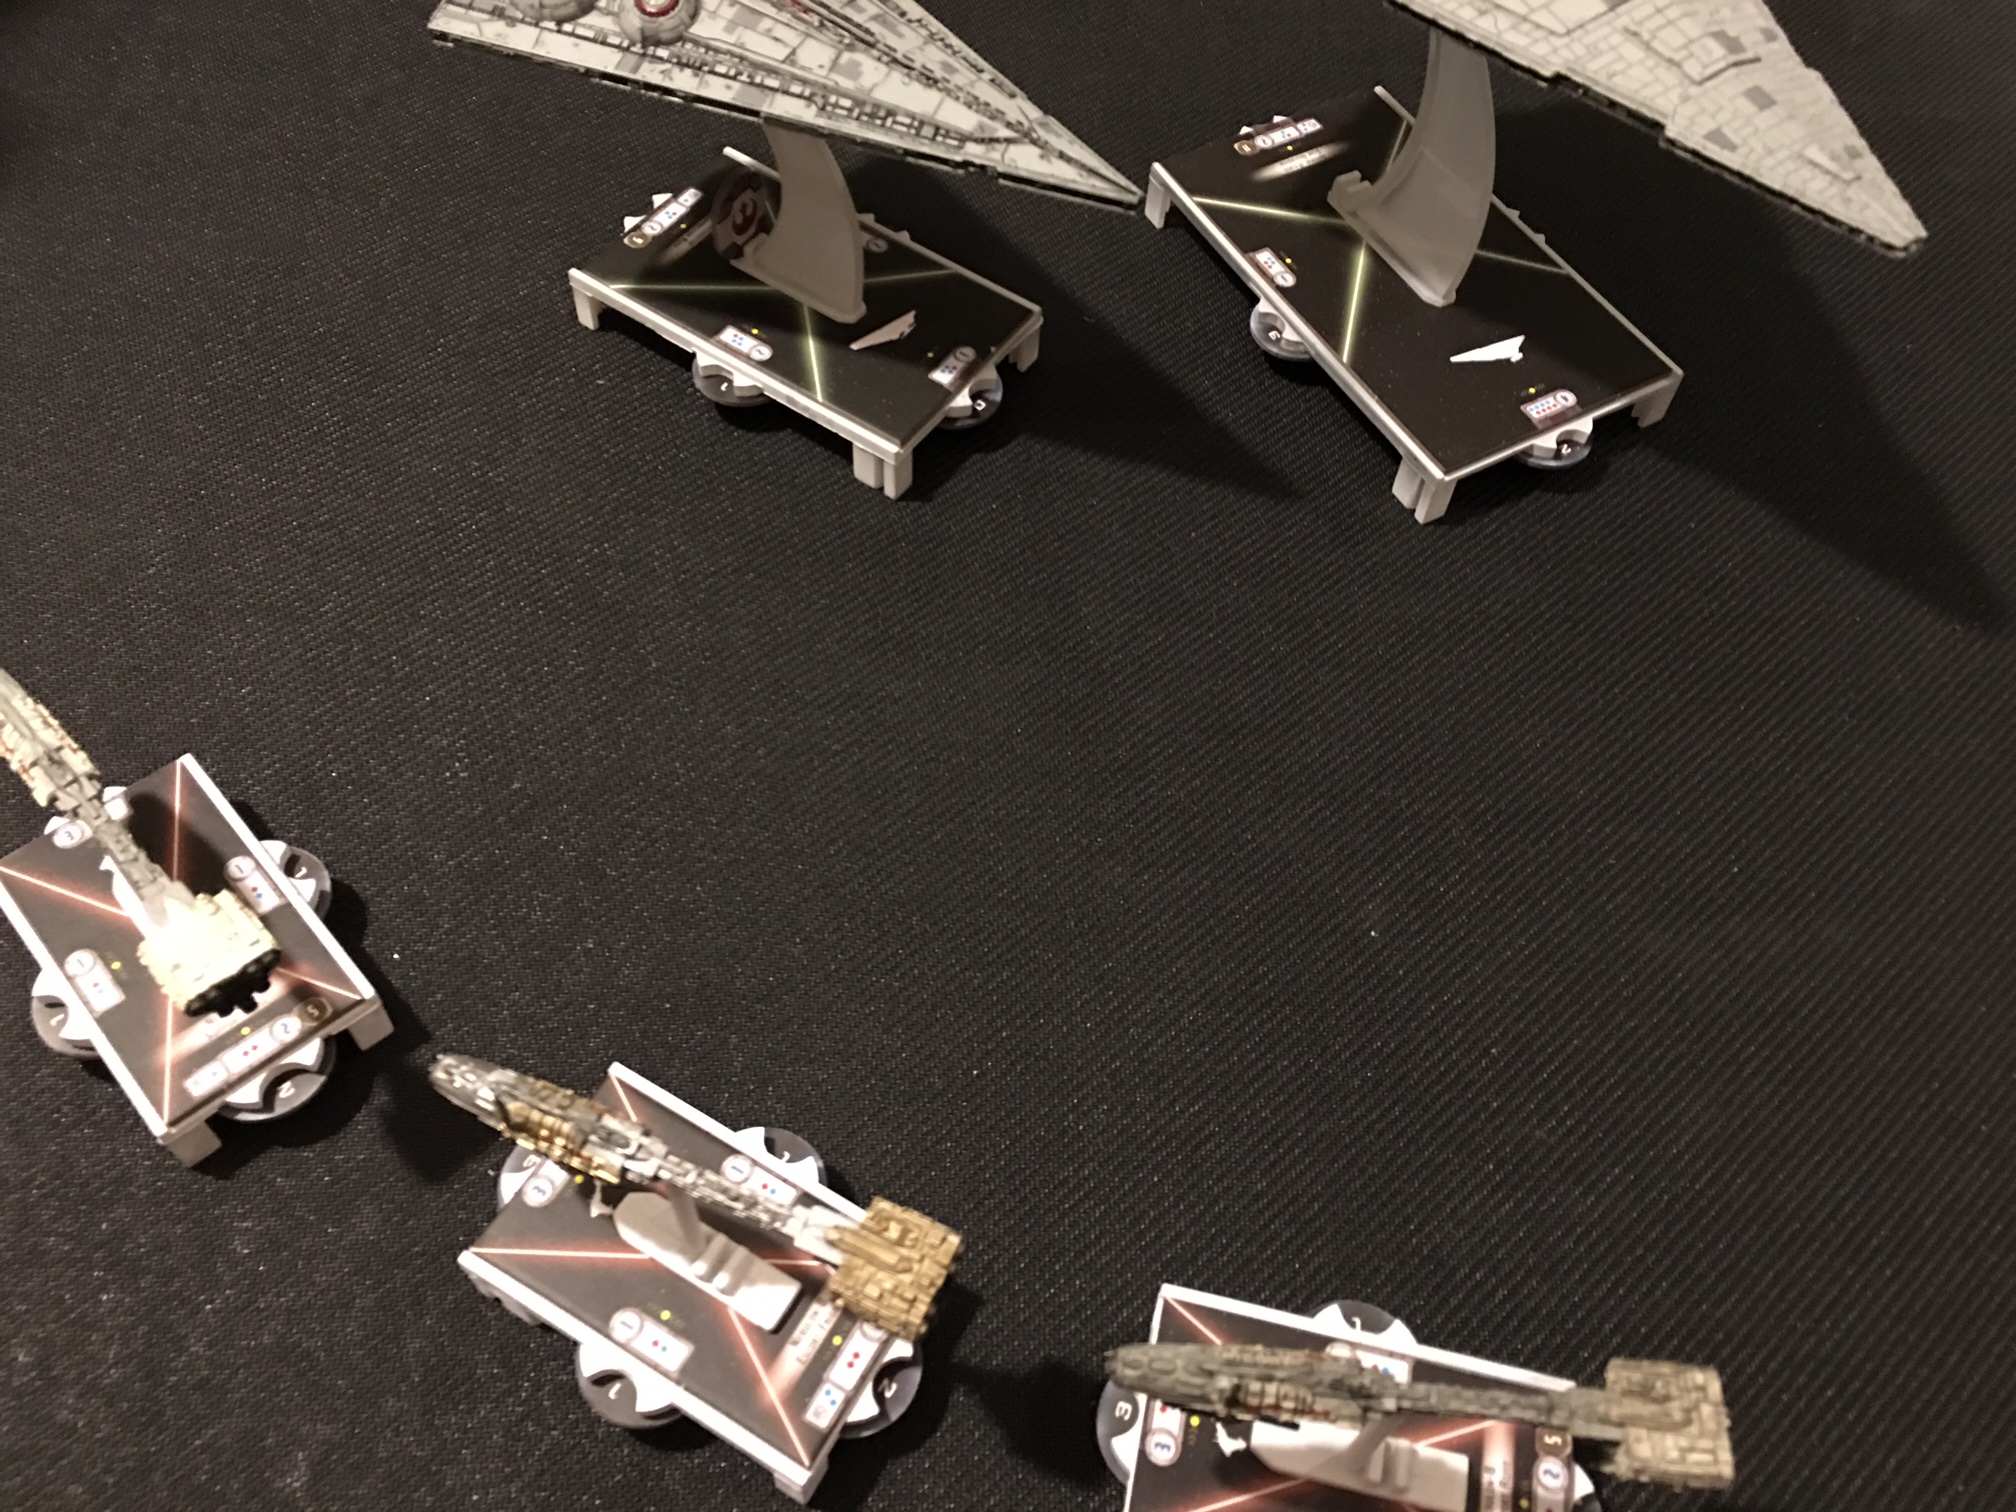
A fleet full of Nebulons running in a line, can ensure that nearly all of their ships will have a side arc on a target. Declaring Ackbar is also going to rule out your front and rear arcs anyway, so you are likely only ever going to get ONE shot to begin with. So now you’ve transformed one red die, into four (or five if you’ve selected a concentrate fire command, which in this case you’ll probably want to do a lot). Five red dice out the side is pretty nice – and consider that against your front arc, which at best could match that, but not beat it.
The ONLY thing you lose this way, is the ability to take two shots. A typical Nebulon doesn’t ever get two GOOD shots regardless. And in the rare case that your enemy is directly in front of you and no side-arc is possible – well that is no problem at all. Just use your front arc, slaved turrets and CF command and you still have the same amount of dice.
Oh and there are still titles available – you don’t have to run them as generics. Consider this fleet:
Nebulon-B Support Refit + Slaved Turret
Nebulon-B Support Refit + Slaved Turret
Nebulon-B Support Refit + Slaved Turret + Salvation
Nebulon-B Escort Frigate + Slaved Turret + Yavaris
(Flagship)GR-75 Medium Transports + Admiral Ackbar + Adar Tallon
Squadrons:
2x VCX-100 Freighter
Luke Skywalker
Biggs Darklighter
Jan Ors
Here is a fleet that is actually pretty versatile and can prove to be very deadly. First the squadrons – it’s only 88 points but we are taking good advantage of them. The GR-75 can activate early, getting Luke to get into position and then readying him with Adar Tallon. Then when Yavaris activates, Jan can move in if needed to free-up Luke, and Luke can shoot twice. This lets Luke shoot 3 times per turn. Biggs and Jan will both help keep Luke Alive, and the VCX-100s will allow both Yavaris and the GR-75 to activate from relative safety. Luke will be a major threat here, even without having a Bomber Command Center close by.
And as for your ships, you just fly them in a line and go keep the Concentrate Fire command dialed up. You’ll probably want to lead with the Salvation, to discourage an enemy force from getting in front of you.
But suppose you want to go with Enhanced Armament.

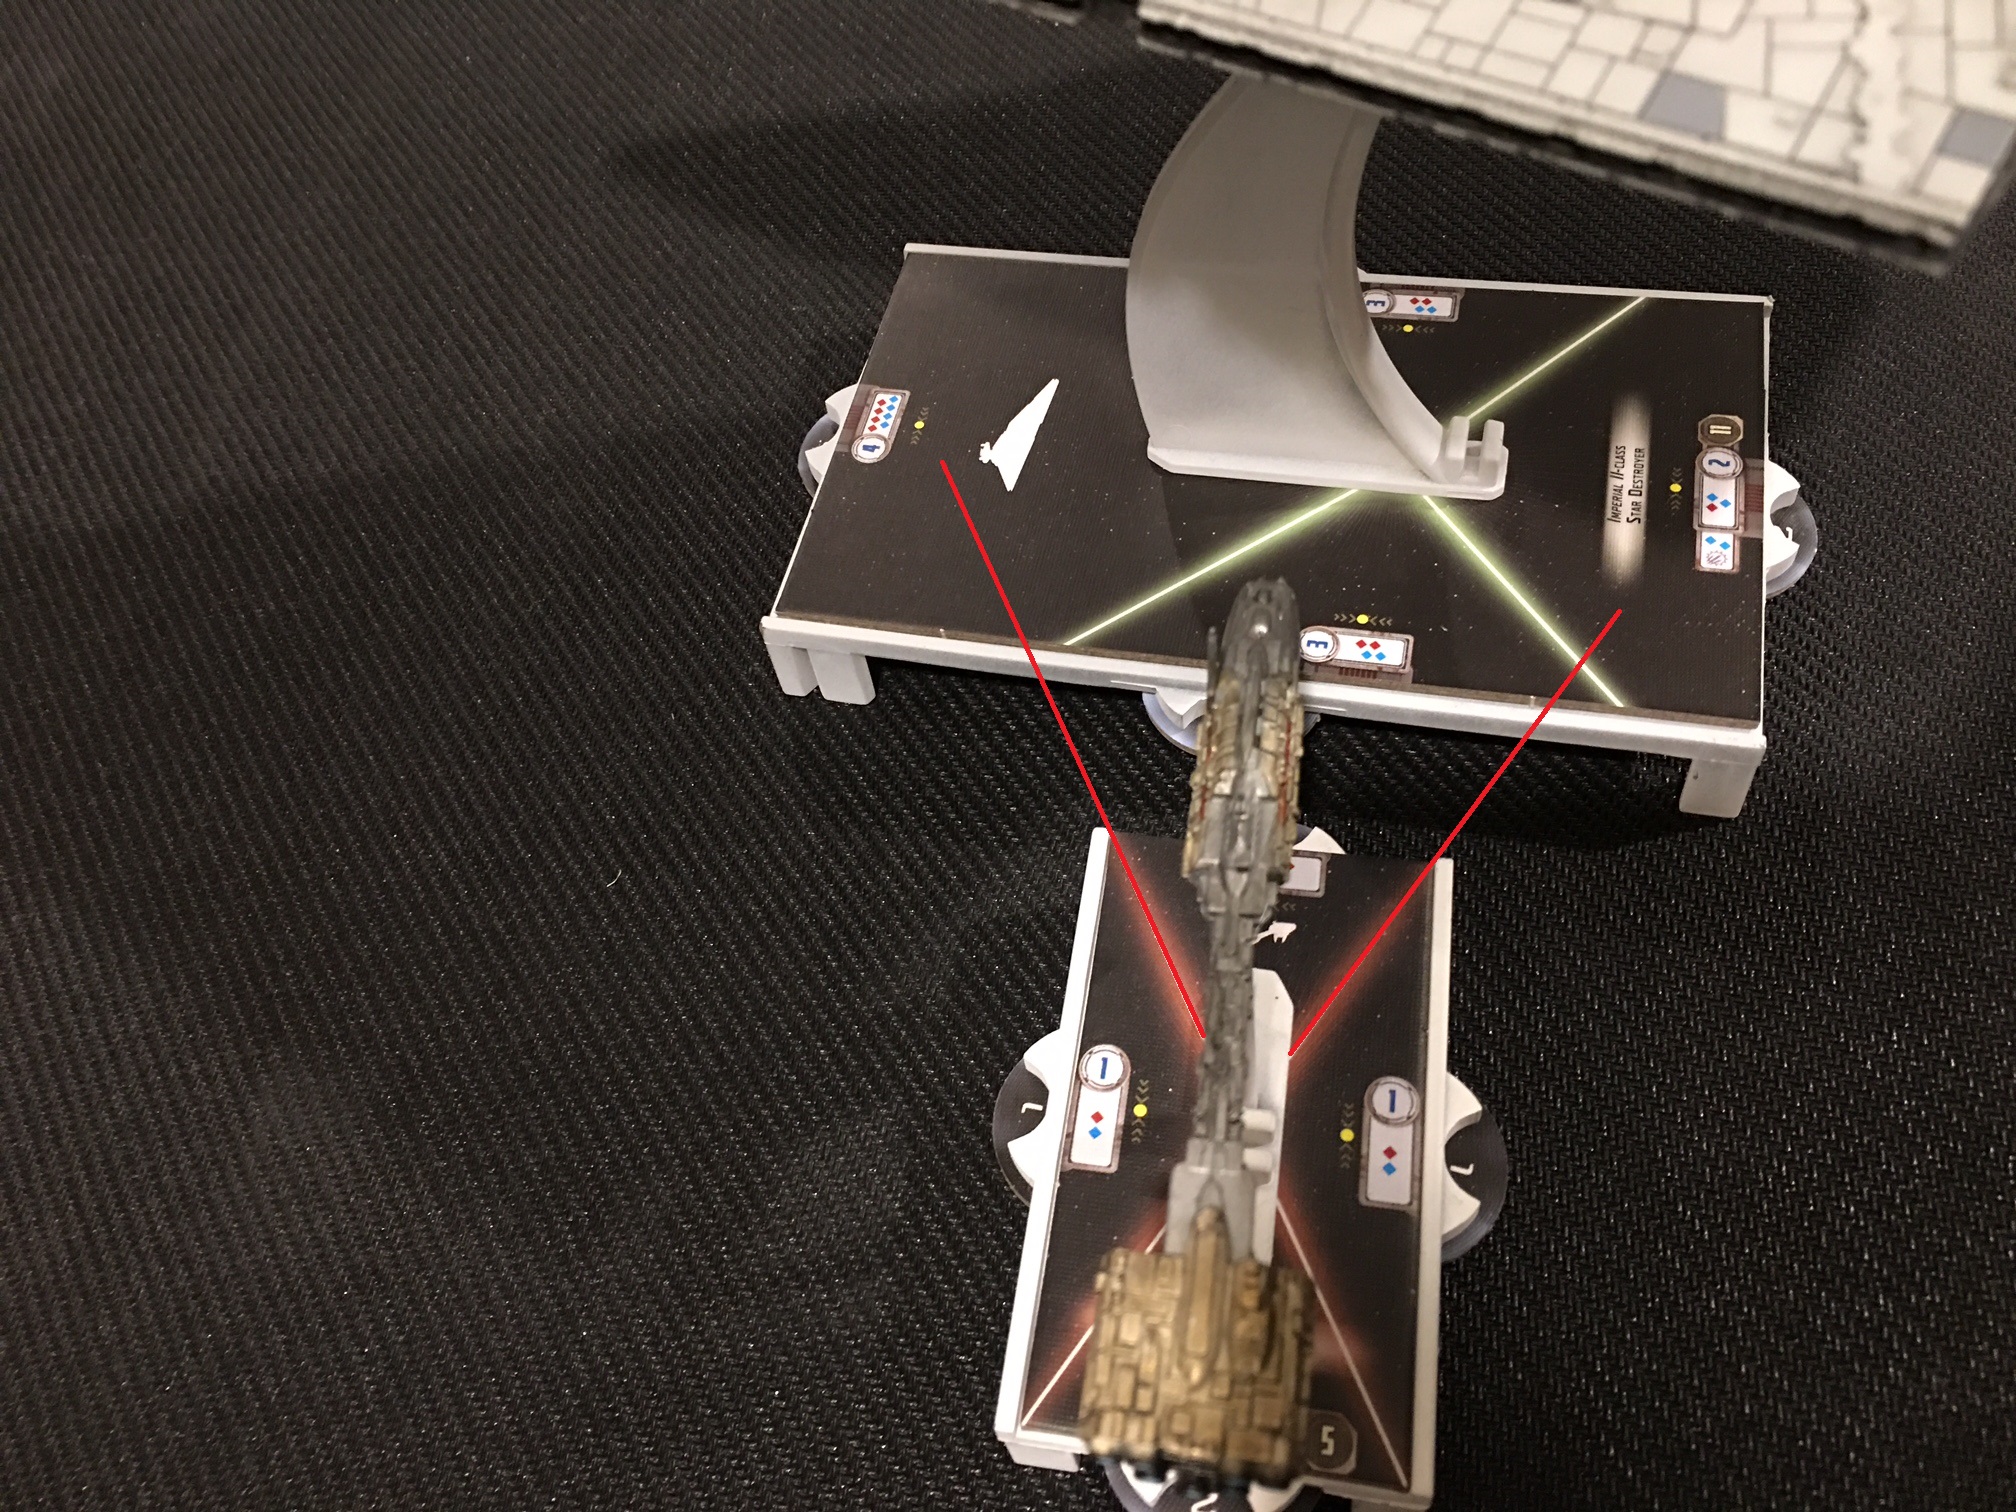
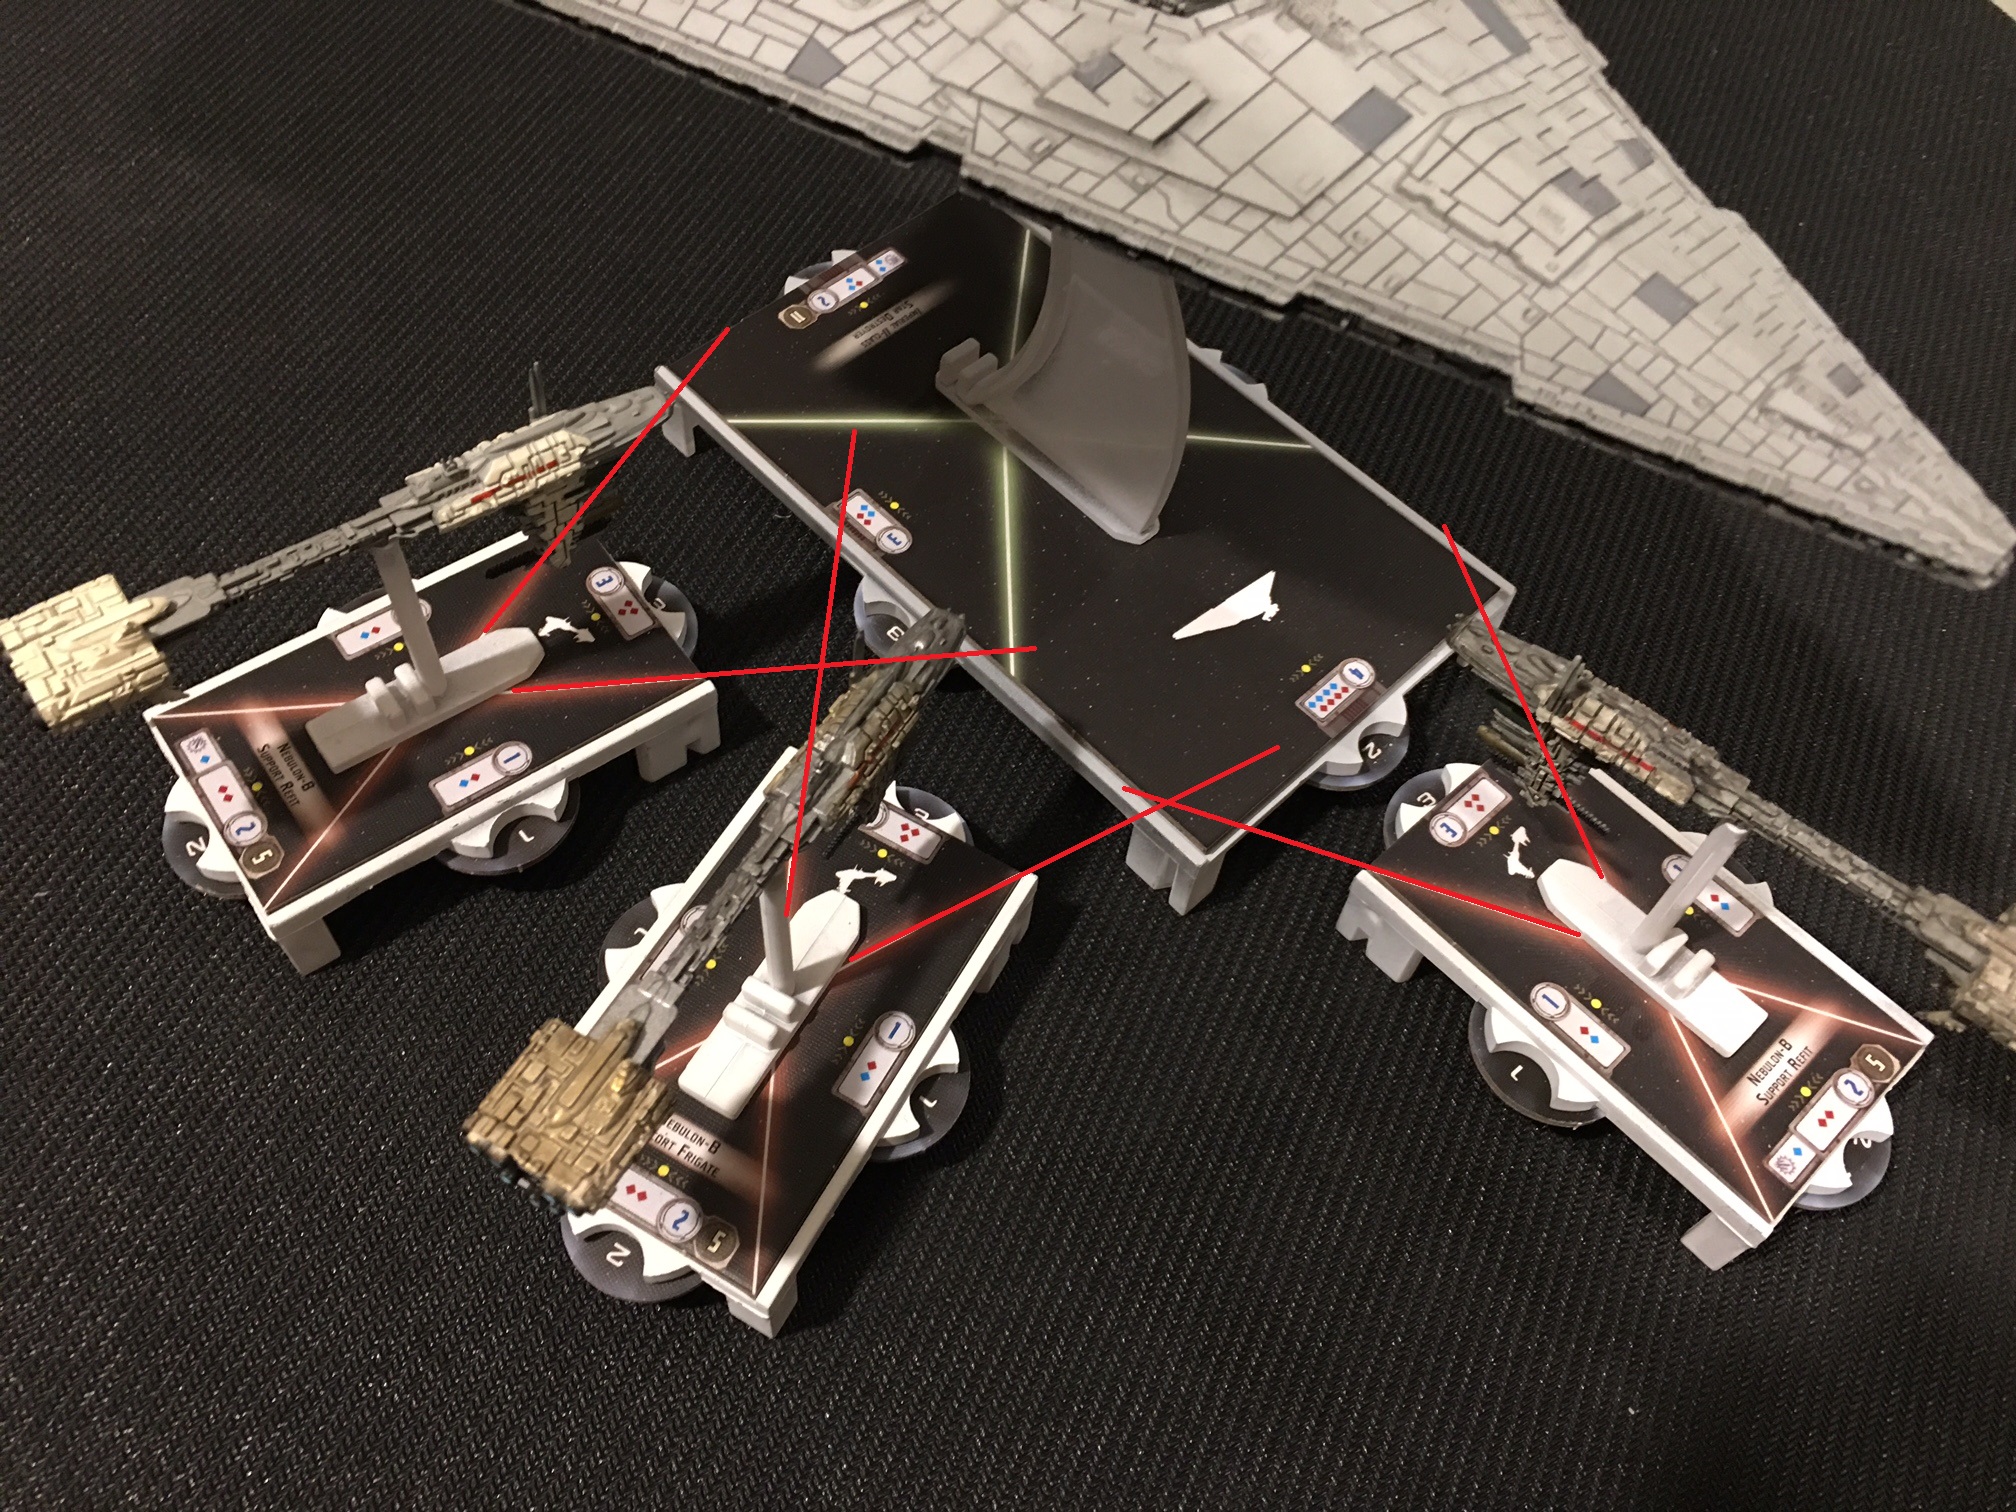
Now it gets more expensive. Each upgrade costs 10, but this does have the obvious benefit of allowing you to attack twice. Assuming you are able to double arc an enemy at long range, you can now shoot 3 out of the front and 2 out of the side. That alone isn’t particularly noteworthy on it’s own. What is clearly the better case is to try and do the “Ackbar Slash” on your enemies now: Attacking one ship on the right, and one ship on the left – getting full bonuses now on both attacks! This does require that you fly your nebulons directly in the middle of your opponent’s ships, and that is pretty much the tricky part – because you will almost certainly be dead as dirt doing that.
But what if you manage to survive? Assuming you keep your front pointed directly at an enemy, you may end up being able to force them to fire at your front with 3 shields – and using your double braces you may be able to survive. If you can manage to get a shot after a forward facing enemy closes in on you, it may be possible to double-arc them from EACH of your sides. This is the absolute best case scenario and would require you being first player in order to pull off, because you are almost certainly dead if you don’t kill them.
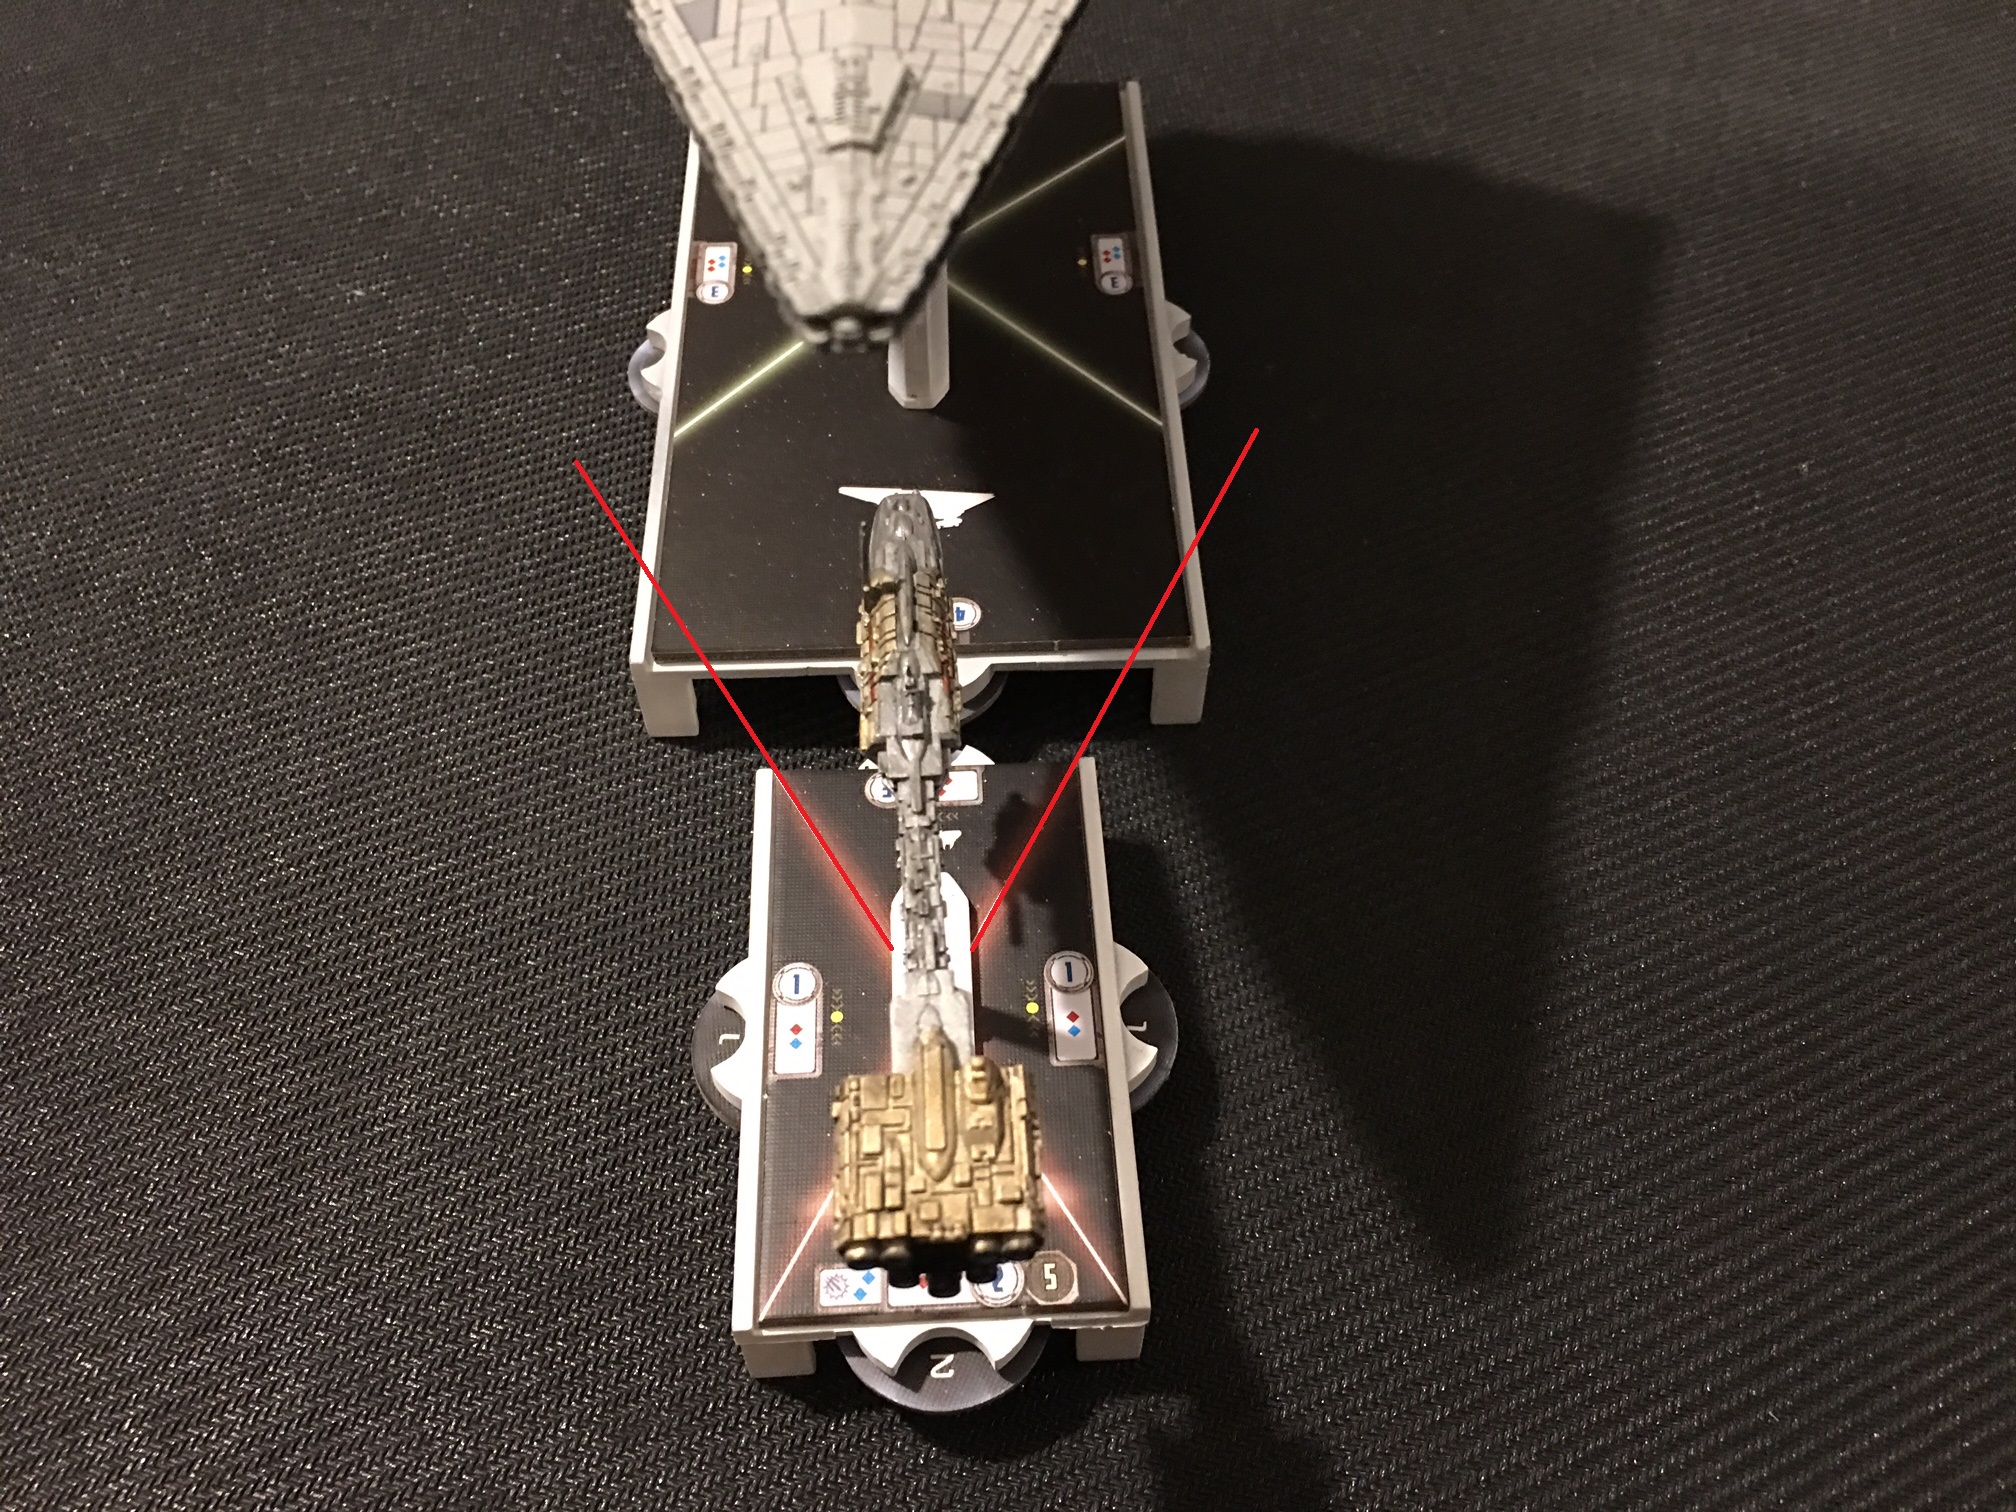
In this case a Neb can declare Ackbar and get two side shots on the Star Destroyer. Enhanced Armament, Ackbar, and being close up allow the use of all of the extra dice available here. Four red and one Blue on each side, plus a concentrate fire depending on where you need it will add up to 11 total dice. Not a bad deal at all from a 61 point ship! (51 plus 10 for Enhanced Armament). And if the star destroyer survives you can just ram them! And if you cannot manage a front double arc shot a side version should be significantly easier.
Here’s a list trying this out.
Nebulon B Support Refit + Enhanced Armament (61)
Nebulon B Support Refit + Enhanced Armament (61)
Nebulon B Support Refit + Enhanced Armament (61)
Nebulon B Support Refit + Enhanced Armament (61)
Flagship -Nebulon B Support Refit + Enhanced Armament + Lando Calrissian +Admiral Ackbar (103)
Squadrons – 3x YT-2400
Five Ships – Five Shooters. The Squadrons have Rogue so you won’t have to worry about squadron commands, and they are well rounded enough to at least slow down most squadron based threats. Lando will help prevent Ackbar from being taken out too early. The rest of the ships you just fly directly at your opponent trying to get as many double side arc shots as you can muster!
The strength of this fleet is that with those ultra wide side arcs you’ll be able to shoot at pretty much everything. If nothing else this type of fleet should be fun! Imagine charging these unlikely heroes at your enemies! If you can manage to get a few double side arc Ackbar shots it will be so satisfying your opponent may just stop the game and come shake your hand!
Large Ships Need Some Help
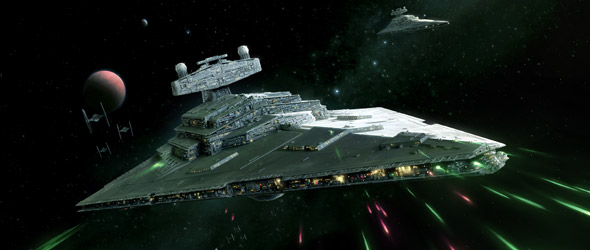
The Imperial Star Destroyer just doesn’t scare me that much anymore….
So I recently played in a small-ship only tournament for Armada. Although I wasn’t thrilled about having a restriction on list building, considering Armada has a relatively small collection of ships to choose from to begin with, I felt comfortable regardless, since so many of my competitive lists tend to mostly be small ships anyway. Here is a video of the tournament for those who are interested:
But this got me thinking why I haven’t been using medium or large ships lately regardless.
Activations:
The biggest advantage I typically see is that having multiple small ships allows me to have a ton of activations. I like to run with 5 or more, and often can manage at least 6. This, combined with an initiative bid will usually allow me a ton of flexibility in terms of activations, and allows me to often double-tap an enemy ship with a last activation, then first activation.
Missed opportunities:
Having a large ship with 120 – 150 points all in one spot can be a really dangerous place to be. Suppose you end up with a crit that says “You cannot attack at long range” – you might be completely ruined for the rest of the game, depending on the fleet you are facing. Or if you find yourself with no enemy ships in your primary firing arc, you end up getting stuck shooting out of a sub-optimal side, and it can be a huge missed opportunity. When you are putting almost half of your fleet points into one ship – missing a big shot with it is devastating.
Firepower:
Small ships can have almost the same amount of firepower as large ships. Consider an Arquitens with enhanced Armament and concentrate fire. That’s five dice at long range for only 64 points. And that’s only one arc. If you are lucky enough to double arc (left and right) you might manage 9 dice from a 64 point ship! The Aruitens in this case work best with Vader as commander, and while this is effective, it does require a more expensive commander, and deprives you of the flexibility of using someone else like Jerjerrod or Motti. So if I can get the same firepower as an Imperial Star Destroyer for about half the points. Sure the ISD can potentially fire twice if it has Gunnery teams, but I could instead just bring a second Arquitens at that point, and not even have the same-target restriction that gunnery teams gives. And while the ISD is a difficult target to kill, I could argue that a swarm of small ships are even more difficult to fully kill.
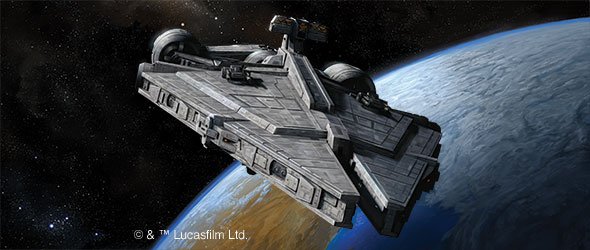
A TRC-90 for only 51 points, while not having the same dice as an Arquitens, still has consistent damage and doesn’t require any specific commander to excel. Four of them come in at 204 points and leaves you plenty of room for other ships. You could potentially run SEVEN of them, and still have points left over for some squadrons. They are just able to pack so much more firepower per point than Large ships, and they are so maneuverable as well!
At Long range, small ships can do ALMOST the same damage that Large ships can do. And because they tend to be fast and maneuverable, small ships can more easily KEEP the battle at long range without getting stuck in close range. I feel like Large ships need something to make them formidable again. Medium ships have a little bit of help with the inclusion of Disposable Capacitors in Wave 6’s Quasar Expansion, but that also can go on small ships!
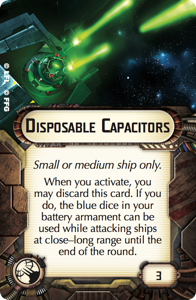
And what’s worse, it isn’t allowed on Large Ships. (A real shame in my opinion). Large ships need some help if I’m going to ever want to bring them to a tournament again.
Improving Boba Fett through Rapid Launch bays
Since the new FAQ declared that after you place a squadron with Rapid Launch Bays, you then officially begin their activation, I’ve been itching to try out my long-planned Raider with Boba Fett. The general idea is that I take a fast ship like the raider, and allow it to drop Boba Fett after moving, turning a raider into a miniature Gladiator (Well for one move at least). For reference here is a video where I talk about a build for this.
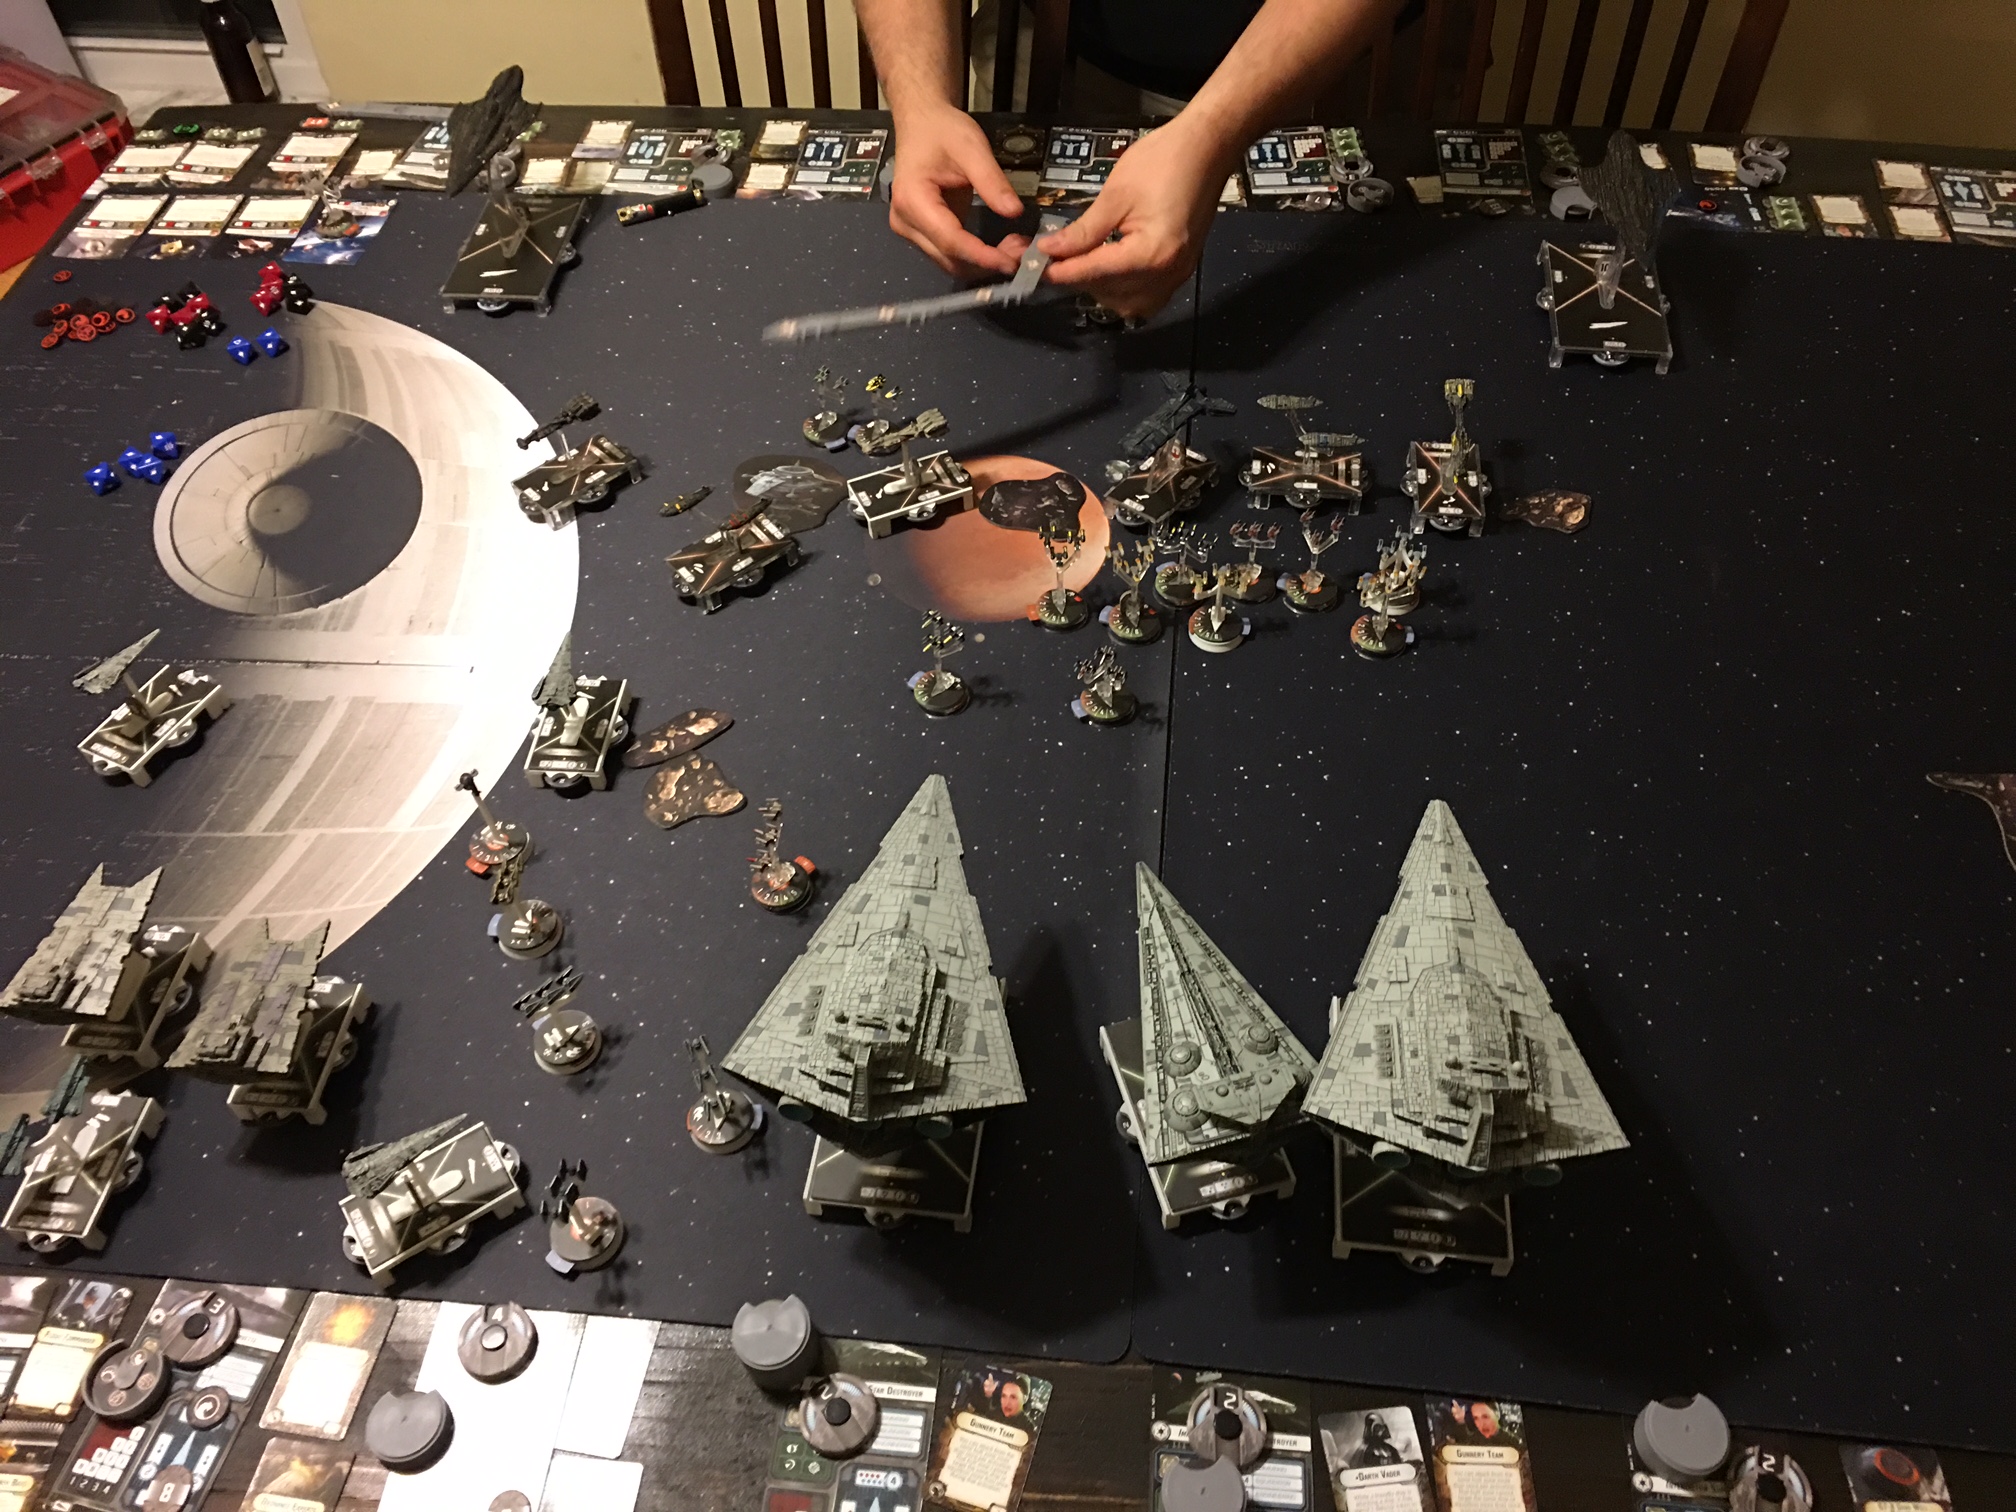
Well I finally got the chance to try it last night. It wasn’t however, in a 400 point game, but rather at the spur of the moment by buddy and I decided to play a massive 800 point game! I figured this would be a good time to try out some new things, and I did manage to use Boba Fett on board a raider in this build. Granted the game was huge – it was also fun!
My opponent ended up having far more squadrons than I did and I was quickly overwhelmed by the darned things. So I ended up using Boba against a squadron, rather than a ship. It worked well enough, deploying and dealing a damage, followed up by an attack- but I would have rather used it against a ship. And yes I realize that even against a ship the activation damage can STILL go to a shield, but it just fits into the whole idea of what I’m trying to do – damage damage damage! Even so – using Boba’s ability against squadrons is solid and generally a pretty good thing too, as it can’t be impacted by most defensive abilities as it is not an attack.

After the match I began to think that I had missed an opportunity to maximize this ability. Suppose I had multiple squadrons deploying and Boba was the LAST one. His ability could finish off a weakened hero squadron, such as Howlrunner, Tycho, Jan Ors, or even an enemy Escort – and then allow for him to attack whomever he wanted. I could easily get three squadrons loaded up onto a ship with Rapid Launch Bays and Flight Commander. A Victory would work easily but is slow. I could significantly increase my cost if I use an ISD – but the squadrons I would want to end up using would be expensive enough. I could go with a gozanti for the cheaper option, but I’d end up having to use only 2 squadrons.
So my NEW plan is going to be a bit expensive but should be fun. For now lets assume I’m using a victory. Sure it’s slower, but I’ll deploy far forward and I probably won’t die before I get the opportunity to drop my squadrons. I’m going to load up Boba Fett, IG-88, and Colonel Jendon. IG-88 drops first, (Who by the way, is more awesome now than ever before since crazy counterers like Shara Bey exist), then Colonel Jendon drops, and lets IG-88 shoot AGAIN. Finally Boba Drops and does the last damage needed to finish off an enemy or two. This may not be the ultimate combo, and it certainly is expensive, but I suspect it will be a powerful way to counter squadrons with Scatter, Rhymerballs, and Howrunner swarms. And once the Quasar comes out…..
Once the Quasar comes out I believe this would be ideal for that ship in particular, as it will be able to shoot enemy squadrons at LONG RANGE first, soften them up… move in, and then commence shenanigans. And we’ll be able to a 4th squadron to the mix. Maybe we an escort like Vader, or change things up and add Zertik Strom and Bossk… the possibilities are endless! As long as we finish with Boba Fett though! That is key!
Again I realize that Armada’s version of a Boba Fett Pez Dispenser is an expensive way to launch fighters, but I have realized that the more fighters you add, the more fun can be had!
Destiny – Rolling blanks for a living
There is only one blank side on Darth Vader’s dice. How is it that I roll that side nearly every time?
Playing some Destiny tonight it became clear to me that I need to come up with some custom alternate art for my Vader deck. Here it is.
Honestly my first 3 games I only rolled damage on Vader one time. Ended up having to use a No Mercy on a single ranged damage from my Nightsister. My 4th game was almost all damage though. Good thing the game is fun though, otherwise I’d have felt lousy.
What an Amazing Celebration!
So Star Wars Celebration is over…. Well It’s been over for 2 days but I’ve been completely exhausted and had to get back to doing things around the house that have been neglected. As a result I haven’t had much time to write. I did a short recap video here:
It was a great experience for sure. I’ll admit Sunday morning, that I honestly just wanted to stay in bed… but that quickly went away, as I was instantly reminded of how awesome the con was as soon as I arrived!
One of the coolest parts was being there so early in the morning as an exhibitor before they opened the doors. Seeing Dave Filoni and Andi Gutierrez just walking around like normal people was almost surreal! It was the calm before the storm, and I spent a good deal of time sitting at the food court trying to take it all in and commit as much of it as I could to memory.
One of the most important things this year was diversity. Sitting at the Star Wars Show Stage, watching Kelly Marie Tran shoot T-Shirts at the crowd… I noticed an Asian woman behind me who was trying to get Kelly’s attention. She said “Oh my god she’s so great!!!” and she meant it. This was a powerful moment for me because I think everything suddenly came together. I couldn’t help but wonder what it meant to her to have Asian women represented in Star Wars finally!

That has been an important part of what Lucasfilm has been doing over the past few years. As a white male, I’ve never really felt left out of the Star Wars Fandom – because almost everyone was a white male. I could cosplay as anyone I wanted to, and didn’t need to wear a helmet to do so. But this convention put everything into perspective for me.
The last time Celebration was in Orlando, was long before Episode 7 or Star Wars Rebels. There were VERY few cosplay options for women… even white women. The sheer volume of Slave Leia costumes were staggering. And this year I was able to draw a stark contrast between the two time frames and really take a good look at what has changed. There were ALOT of females at Celebration, and a lot of young girls were among them! And a huge portion of them dressed up! Sure there were some dressed up as Princess Leia, (and even a few as Slave Leia, though not nearly a majority), but there was incredible diversity this time around!
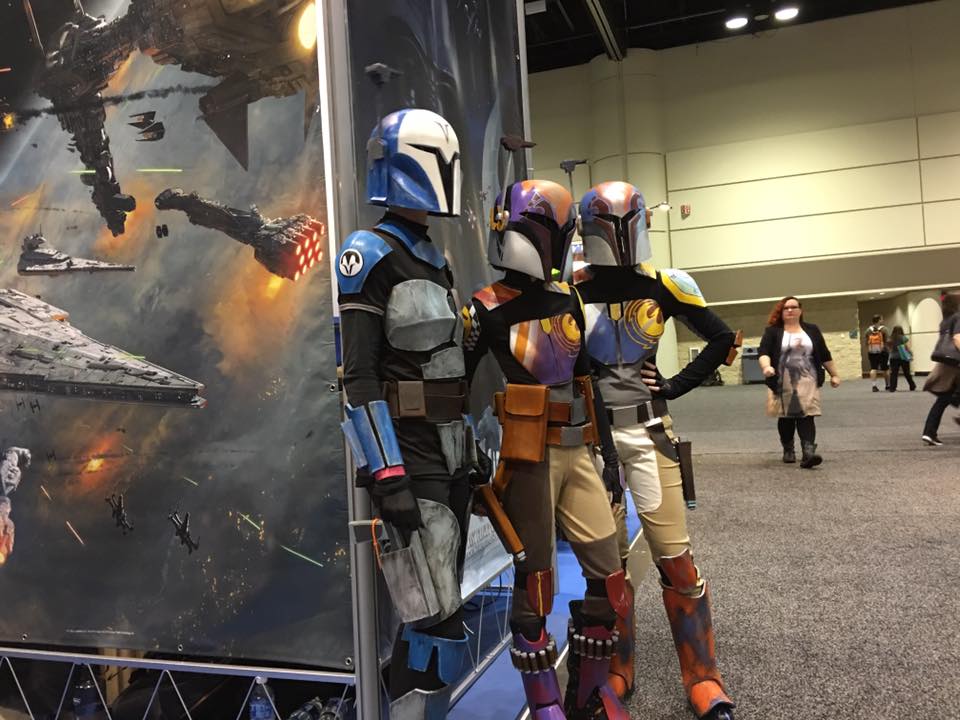
I saw everything ranging from Rey, to Jyn, from Mon Mothma, to Aurra Sing. From Hera and Sabine, to Governer Price and Mandolorians. It’s no longer taboo for females to wear an Imperial Officer’s uniform, and no longer to you have to wear a mask if you want to be a bounty hunter. This year was amazing!

Celebration Day 1
Exhausting day but also so amazing! Got my exhibitor badge so I was able to get inside the exhibit hall early – so if you haven’t seen my youtube videos, go check them out because alot of the footage from today was taken before people came in…. very cool to see the calm before the storm. Having the main hall empty was also the perfect opportunity to check out the Star Wars Show live stage – and look who I ran into!

Seriously! I have watched Andi every week for what seems like forever now… and she’s brought me new Star Wars on a pretty regular basis! She’s amazing and I got to meet her like right away! Now whatever happens I already hit my goal so this whole weekend is already a success!
Here is some video of the day: